The Idea Started...
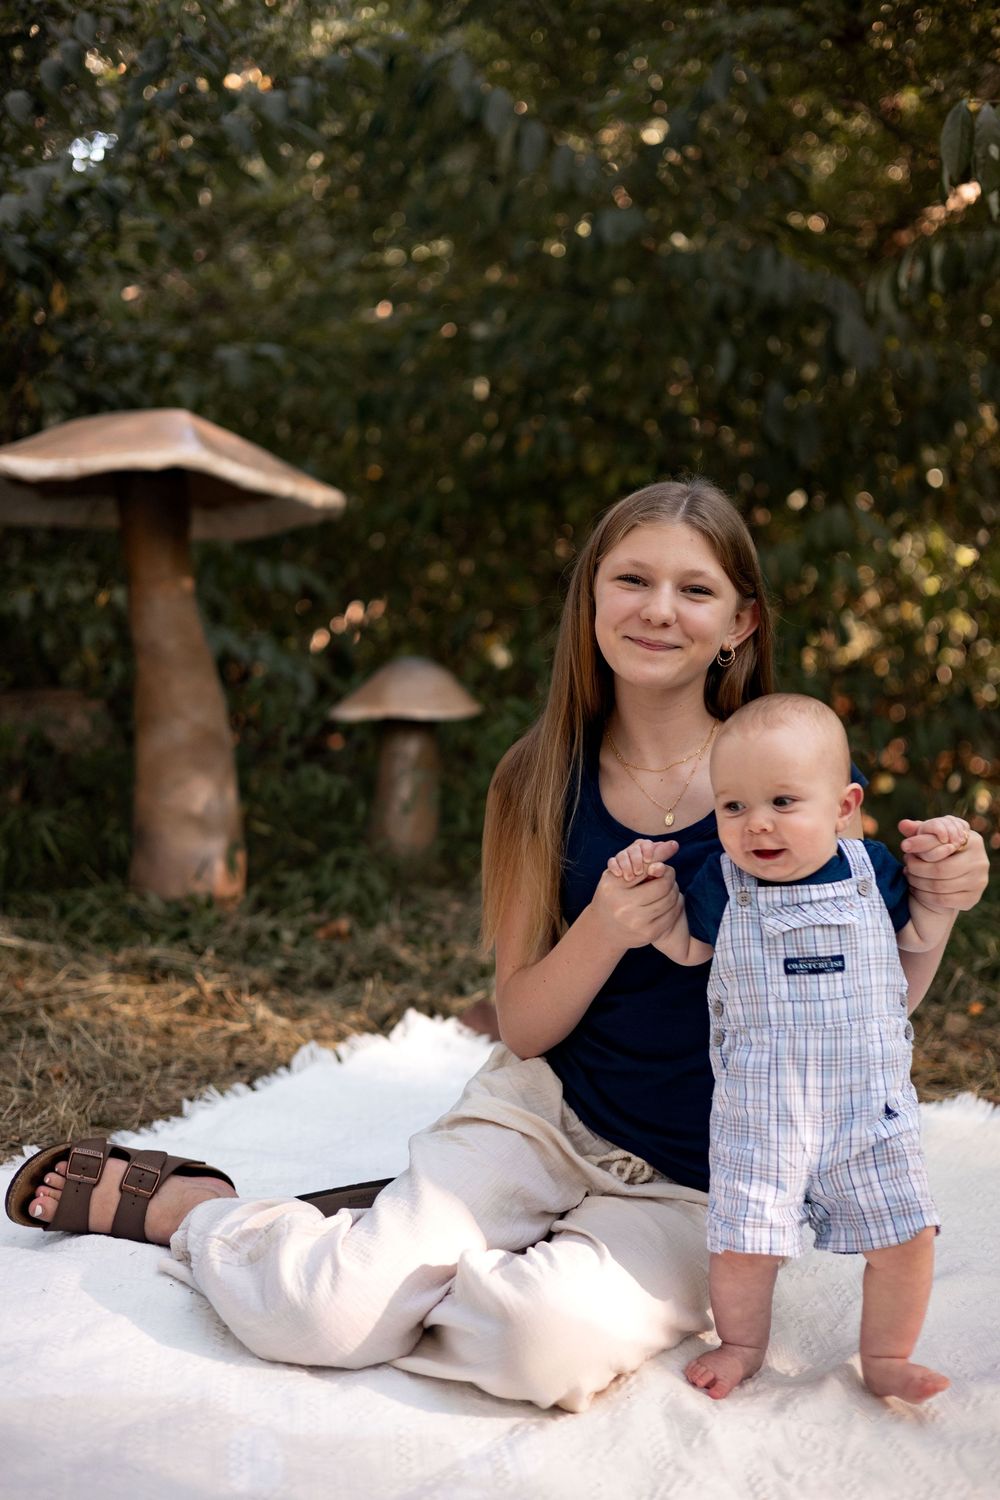
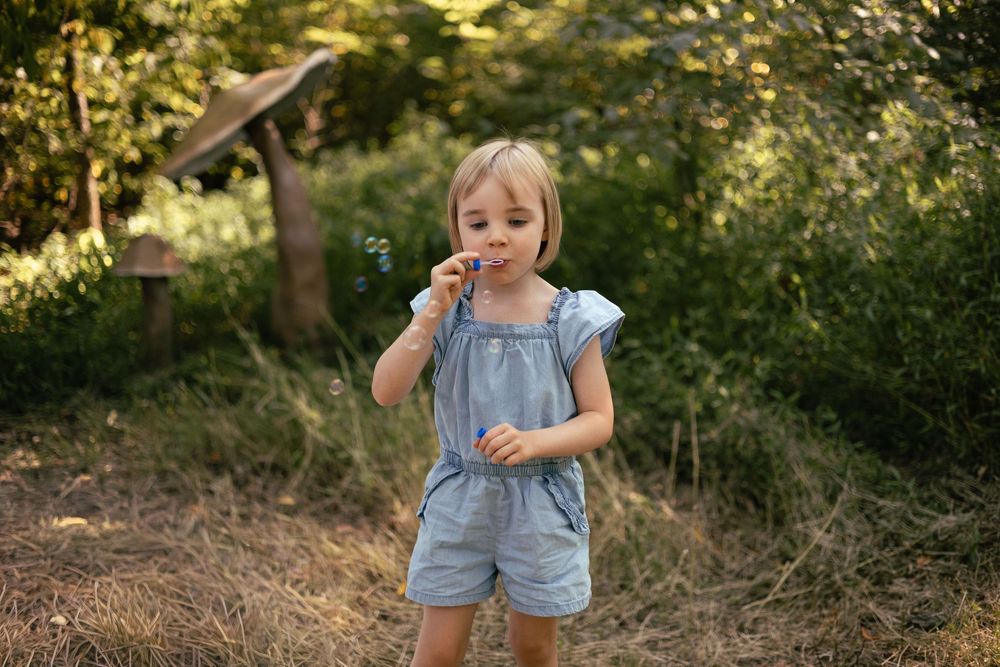
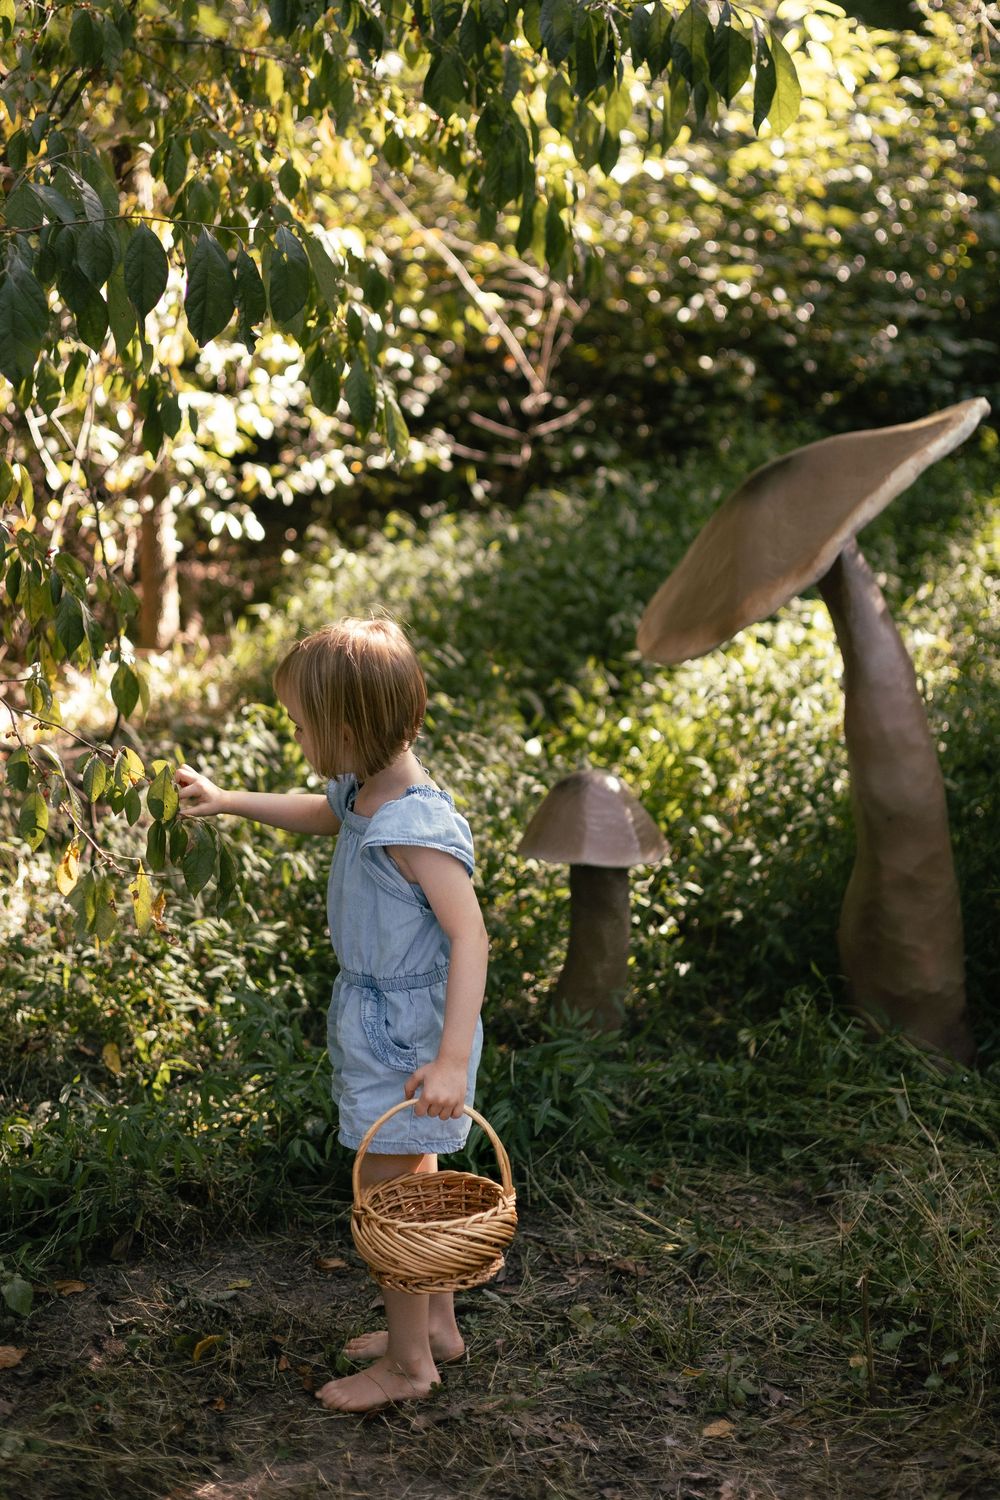
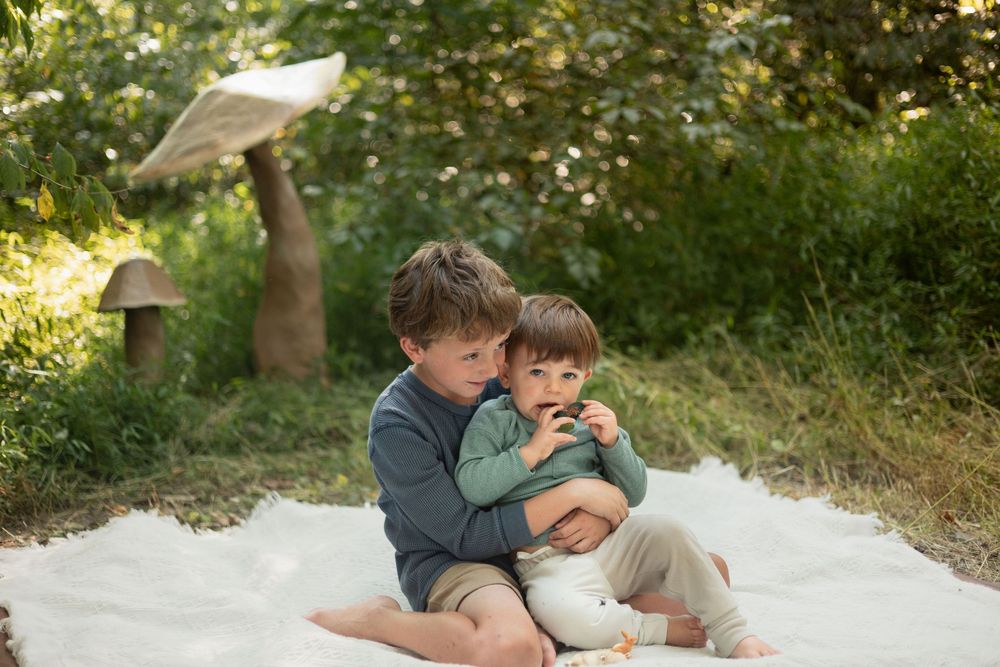
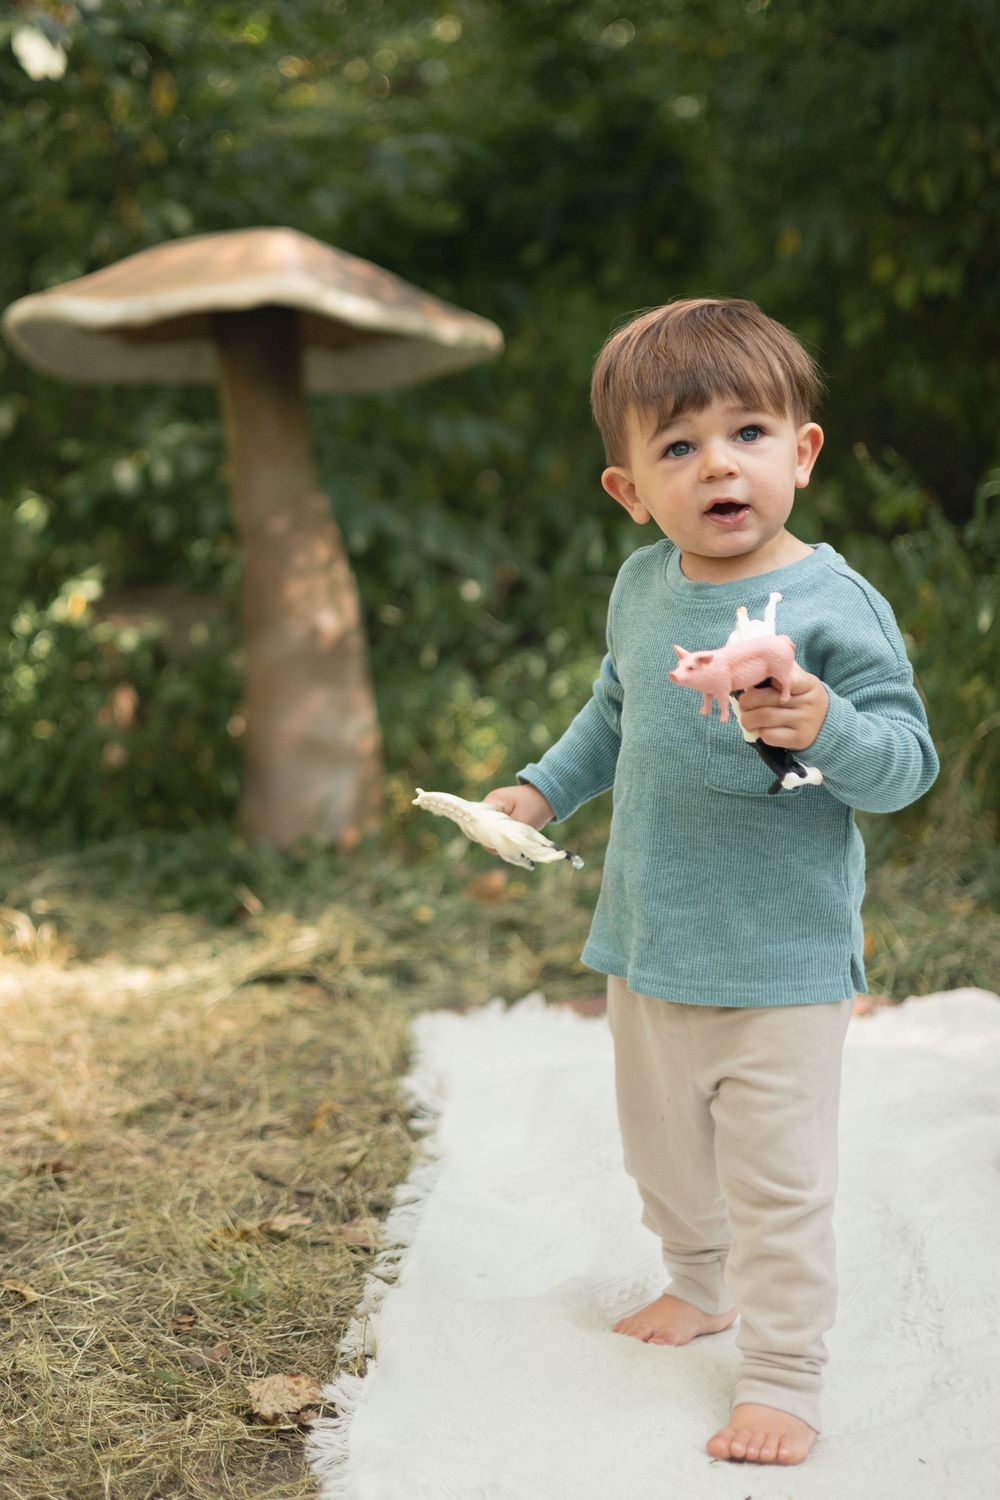
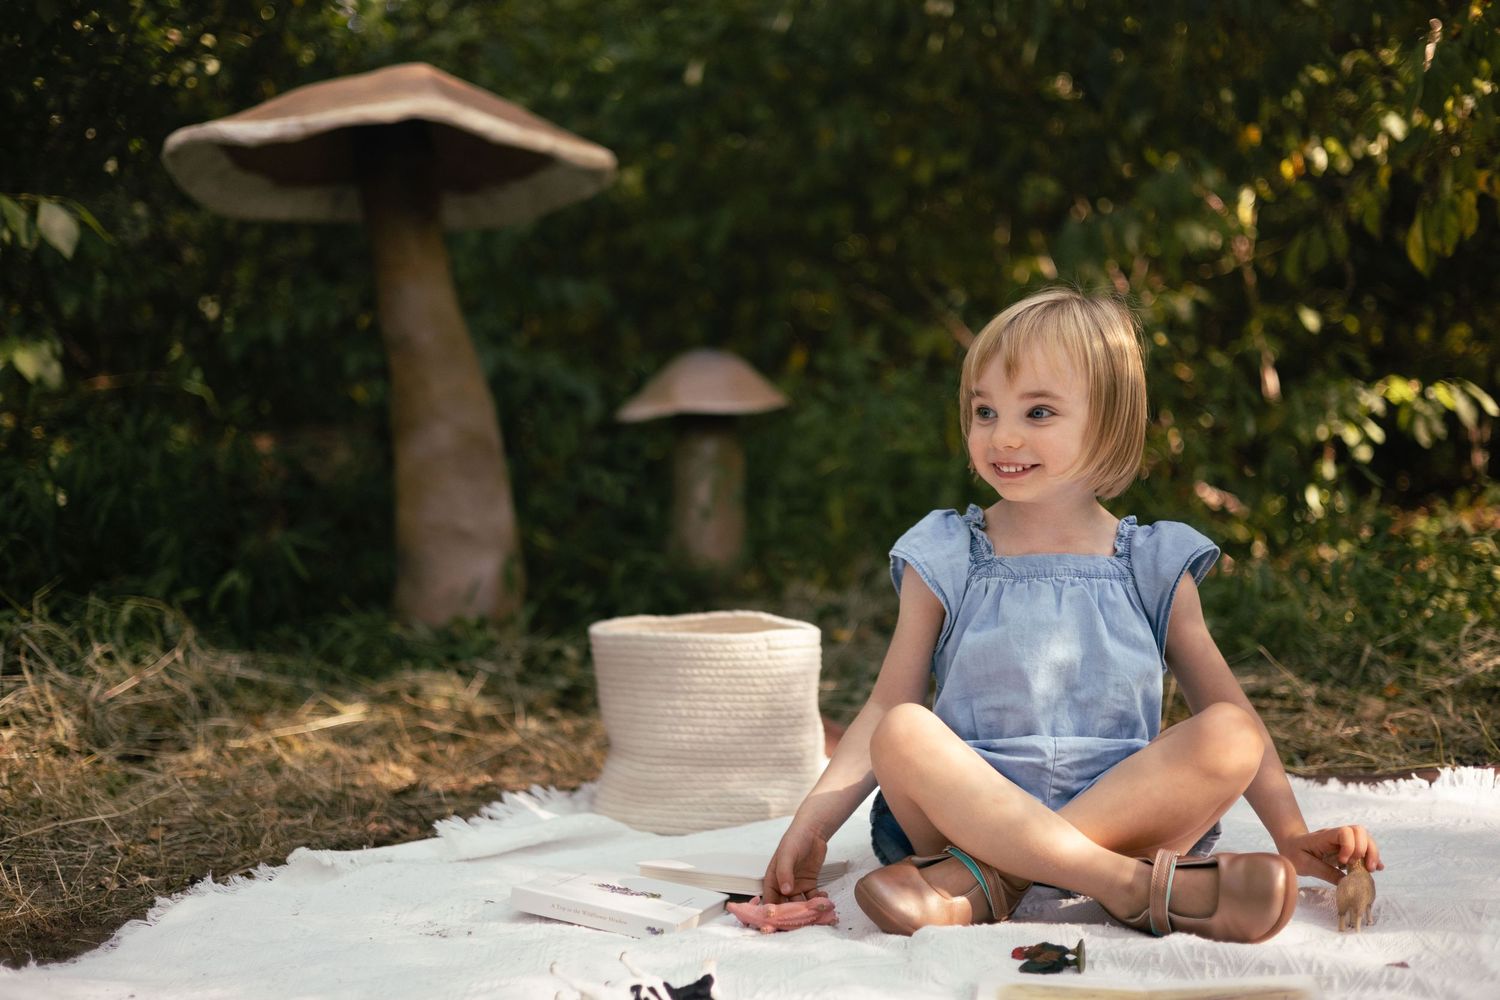
Years ago when I saw those portrait studio fairy sessions. They are very cute and whimsical and I love the magic but man are they expensive! I am a big fan of bringing a little magic to my everyday life, so when I was thinking of how I could showcase my own personal style as a photographer it only seemed natural that I would lean into the fantasy and the whimsy. I knew I wanted to go with something more subdued than bright red amanitas (although I love that too!). I tried at first to make wood blewits but I could not get the coloring to come out right. Naturally, a soft brown wood mushroom was the next best thing! I love how they are noticeable and definitely giant, but they don't overwhelm the eye. The people are still the star of the frame. Want to see how I made them? Read on!
The Construction
I will be honest in the beginning here and say that I did not plan on sharing the process of making these when I made them. Not because I'm trying to keep it to myself, but because I didn't think about it! I did manage to take some pictures, so I think I have enough to illustrate the process. Going forward, I plan on making new sets every year and I think sharing how I build them will be a really nice way to connect with people.
Here's a list of everything (I think) I used during this process
- Chicken Wire
- Tissue Paper
- Brown Paper Bags
- White Elmers School Glue
- Old Mail- that was destined for the shredder
- Really Cheap Toilet Paper
- Cardboard
- Masking Tape
- Scissors
- A Dabbing Sponge on a Stick (from the Dollar Store crafts section)
- Pliers
- A plastic Tub
- Spray Paint
- Matte Clear Acrylic Sealant
First, Create the Structure
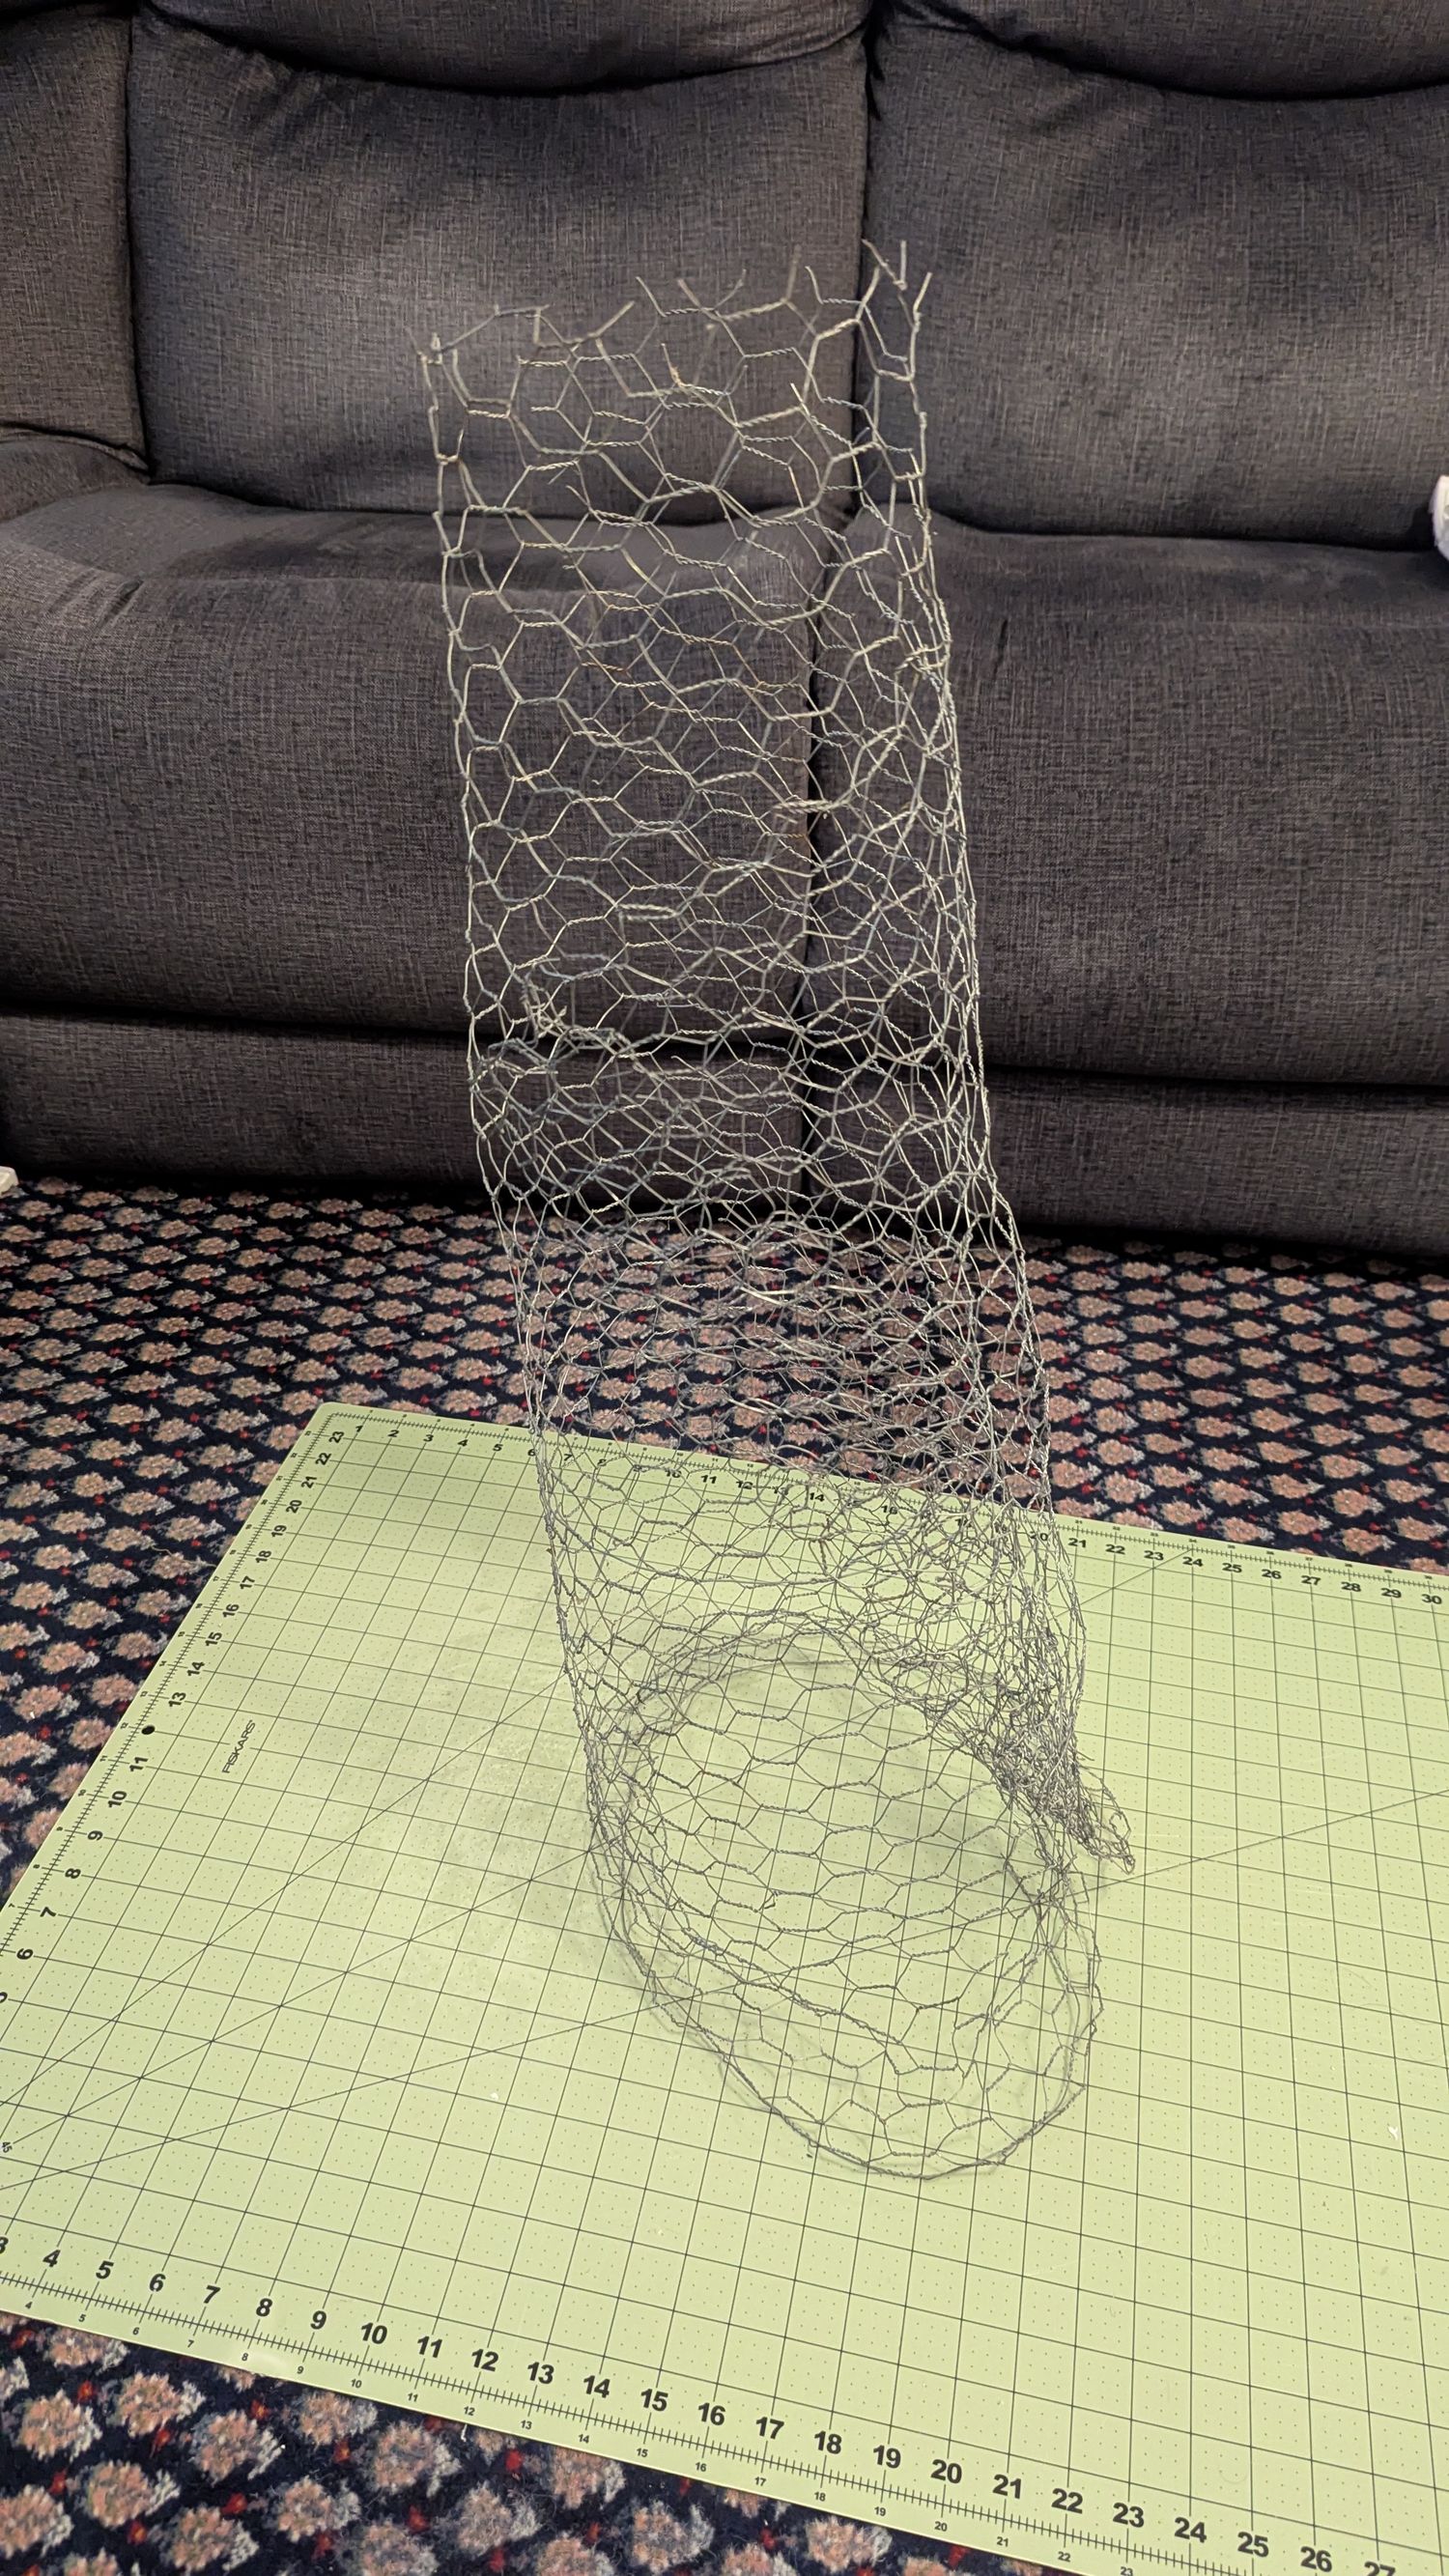
I used standard chicken wire to make tubes of different heights and widths. I was going for variance so it looked more natural. I tried to also have the stems bending a little, they don't all grow straight up in real life. I cut the wire with pliers and bent the ends around the wire itself to secure it. Snip off any stray pokey bits. I made 5, because even numbers just don't look as good. Like in flower arranging, we want 3s or 5s.
Cover the entire stem in masking tape to give you a non-holey surface to work with. This is fairly self explanatory.
Next I started covering it in plain white tissue paper. I got 3 big packs at the store and they were around $4 per pack. Mix some glue and water in a small dish, I did a 1:1 ratio. I folded each piece of tissue 5 times and then pressed it flat. Place the flat piece of tissue, then dab it on with some of the glue mixture. Repeat this until you've covered the whole stem. This is providing cushion between the lumpy bumpy wire and your top layer of paper, so you can't see the wire when it's painted later.
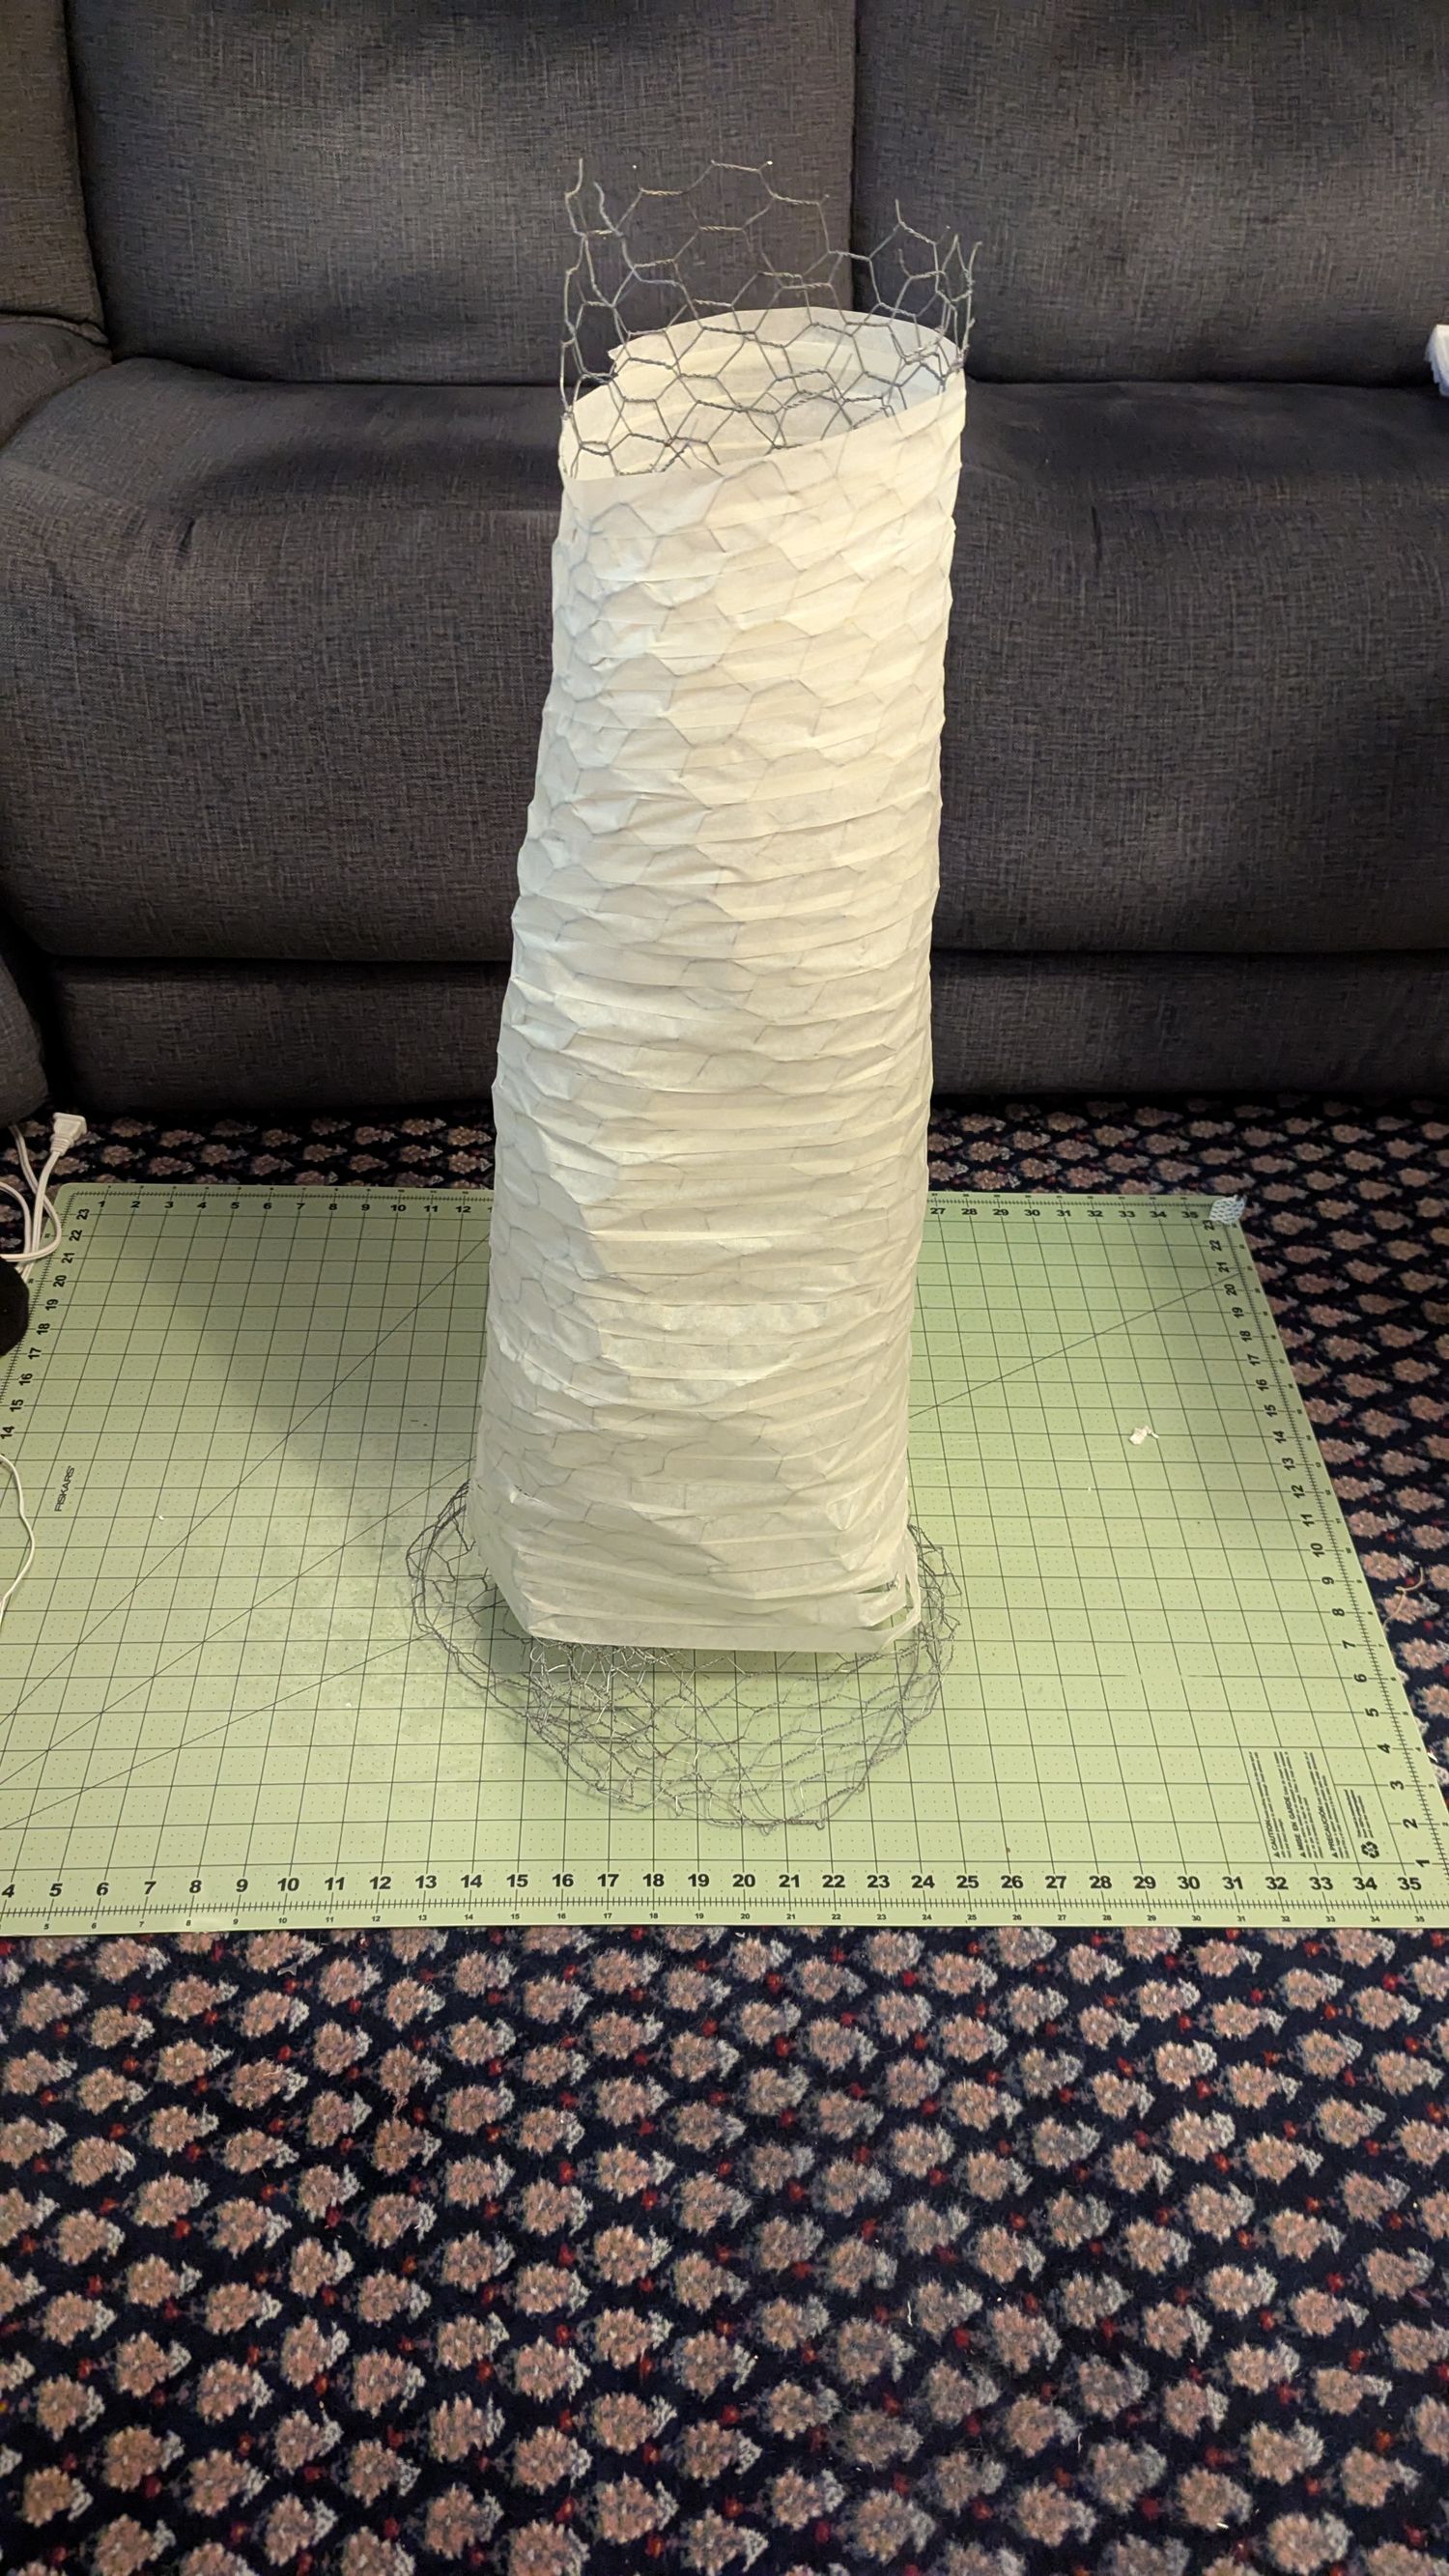
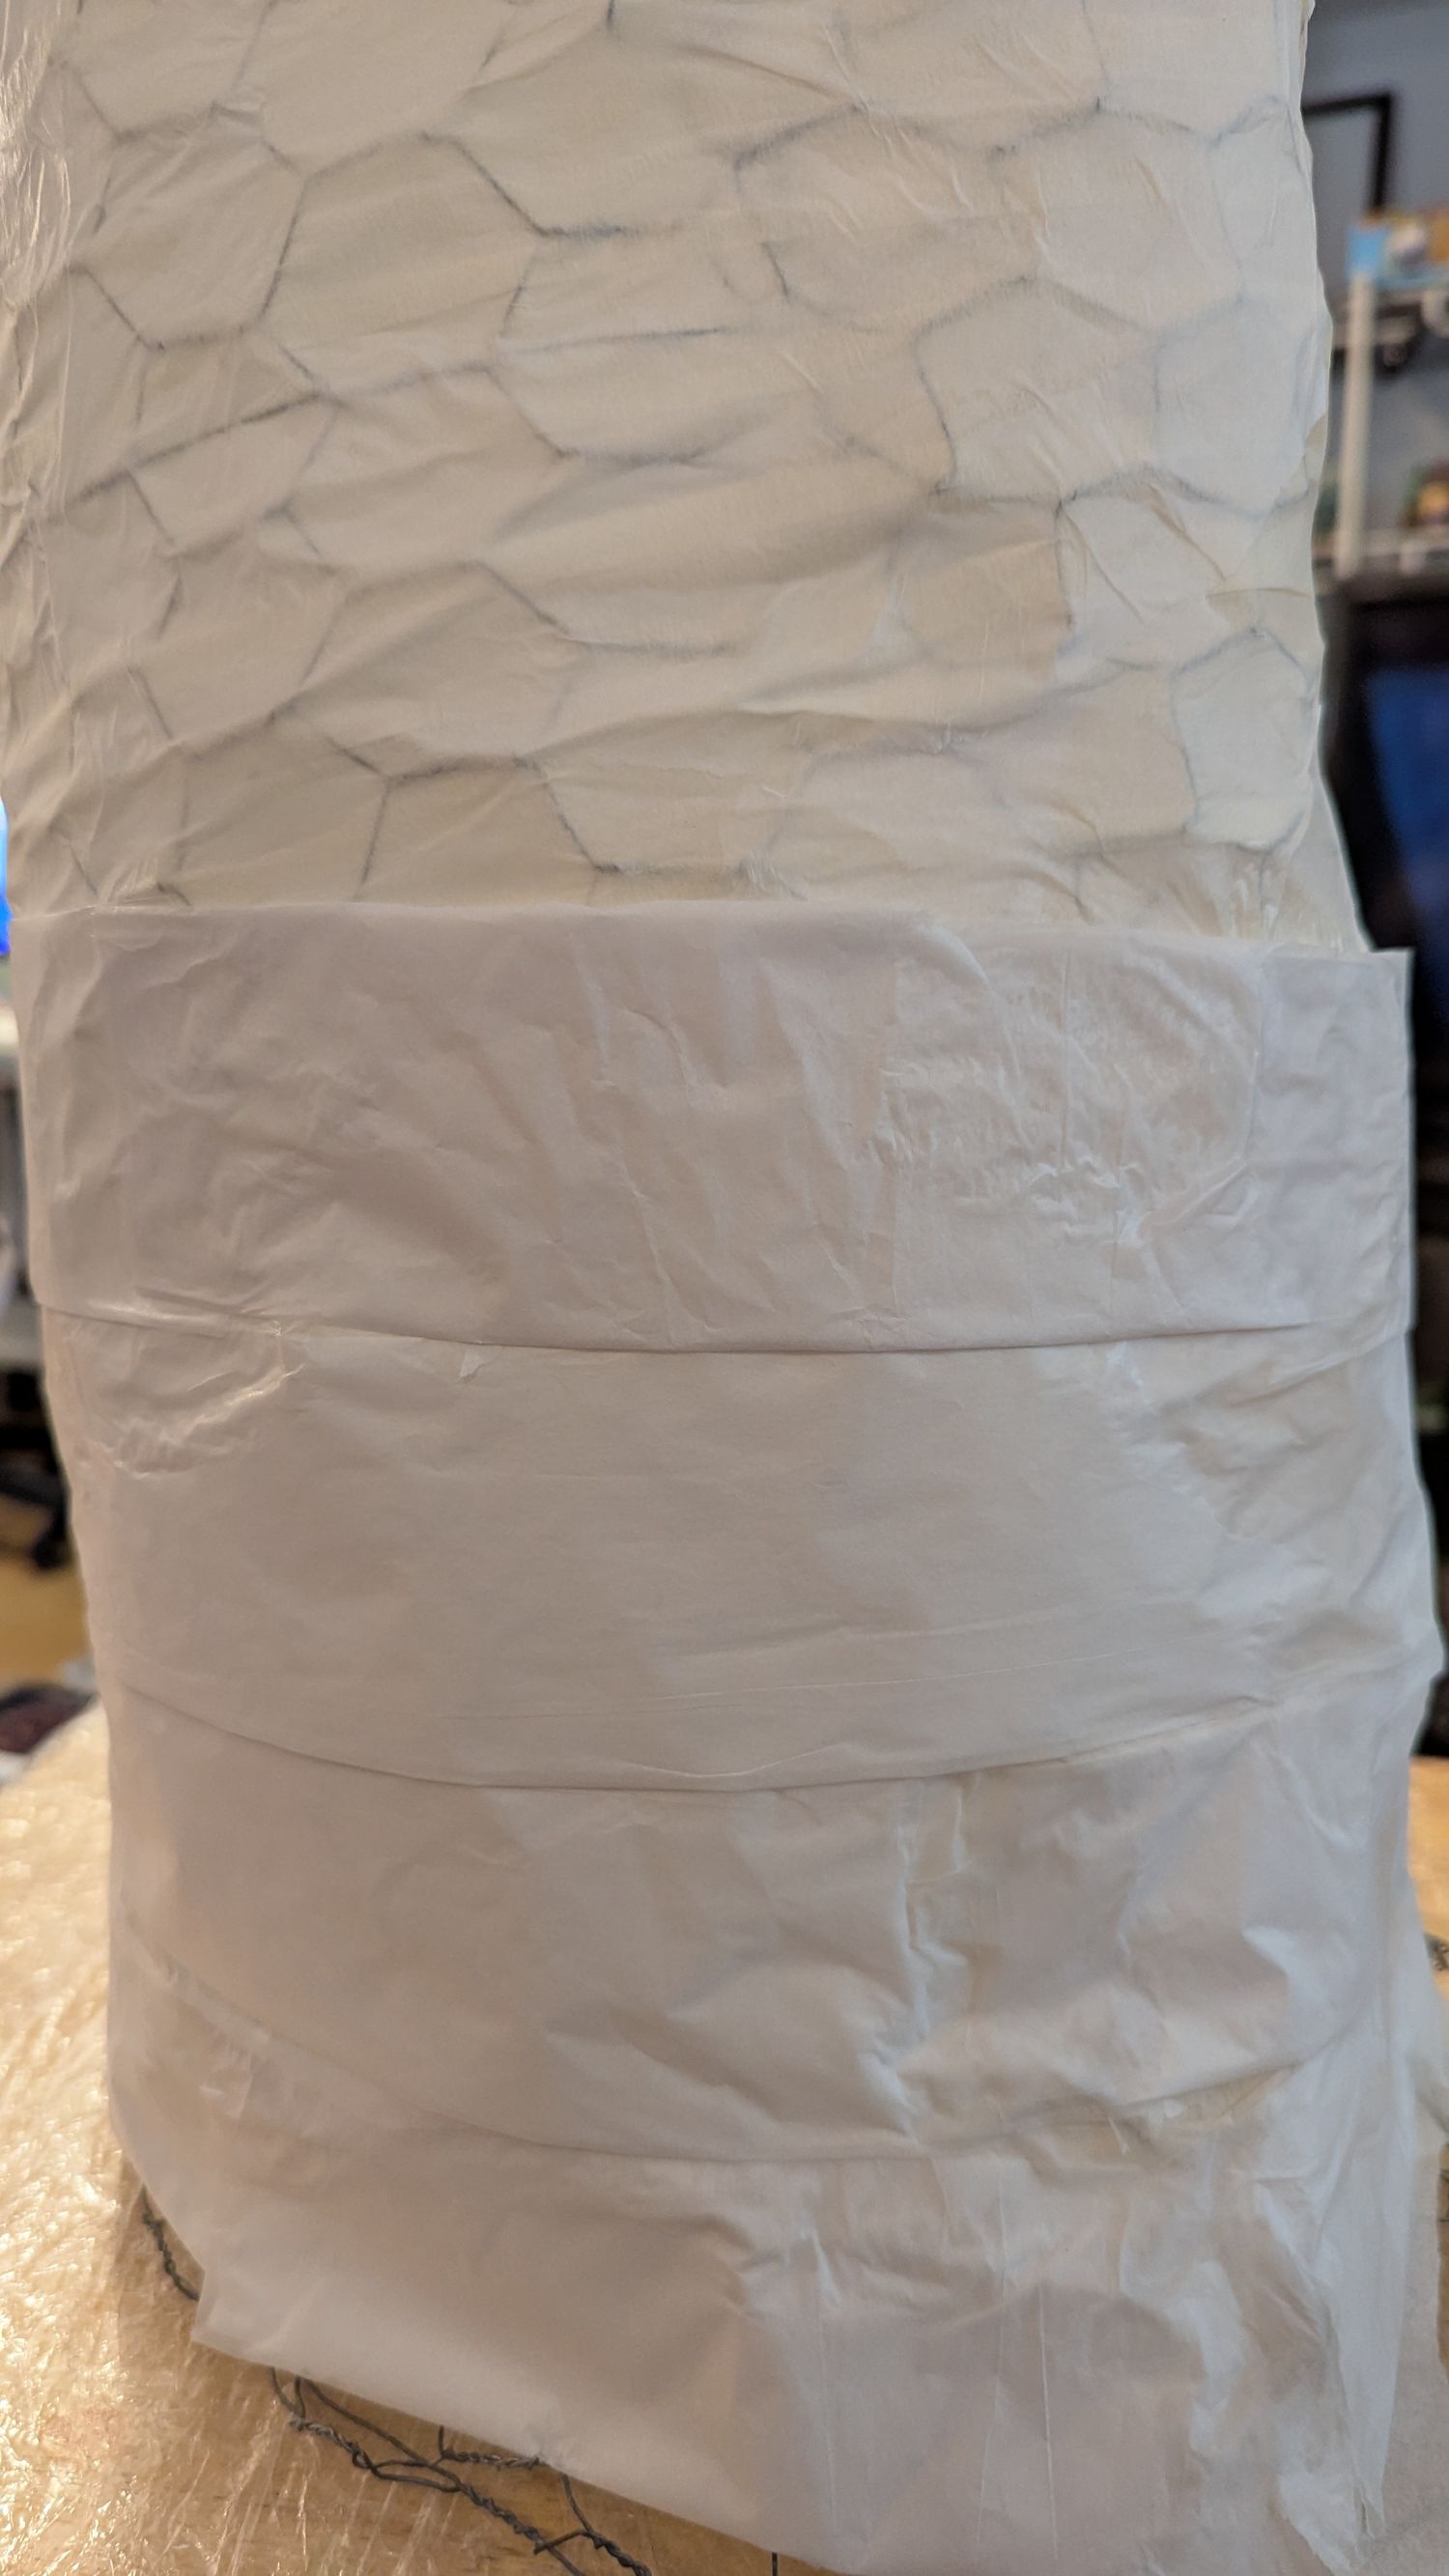
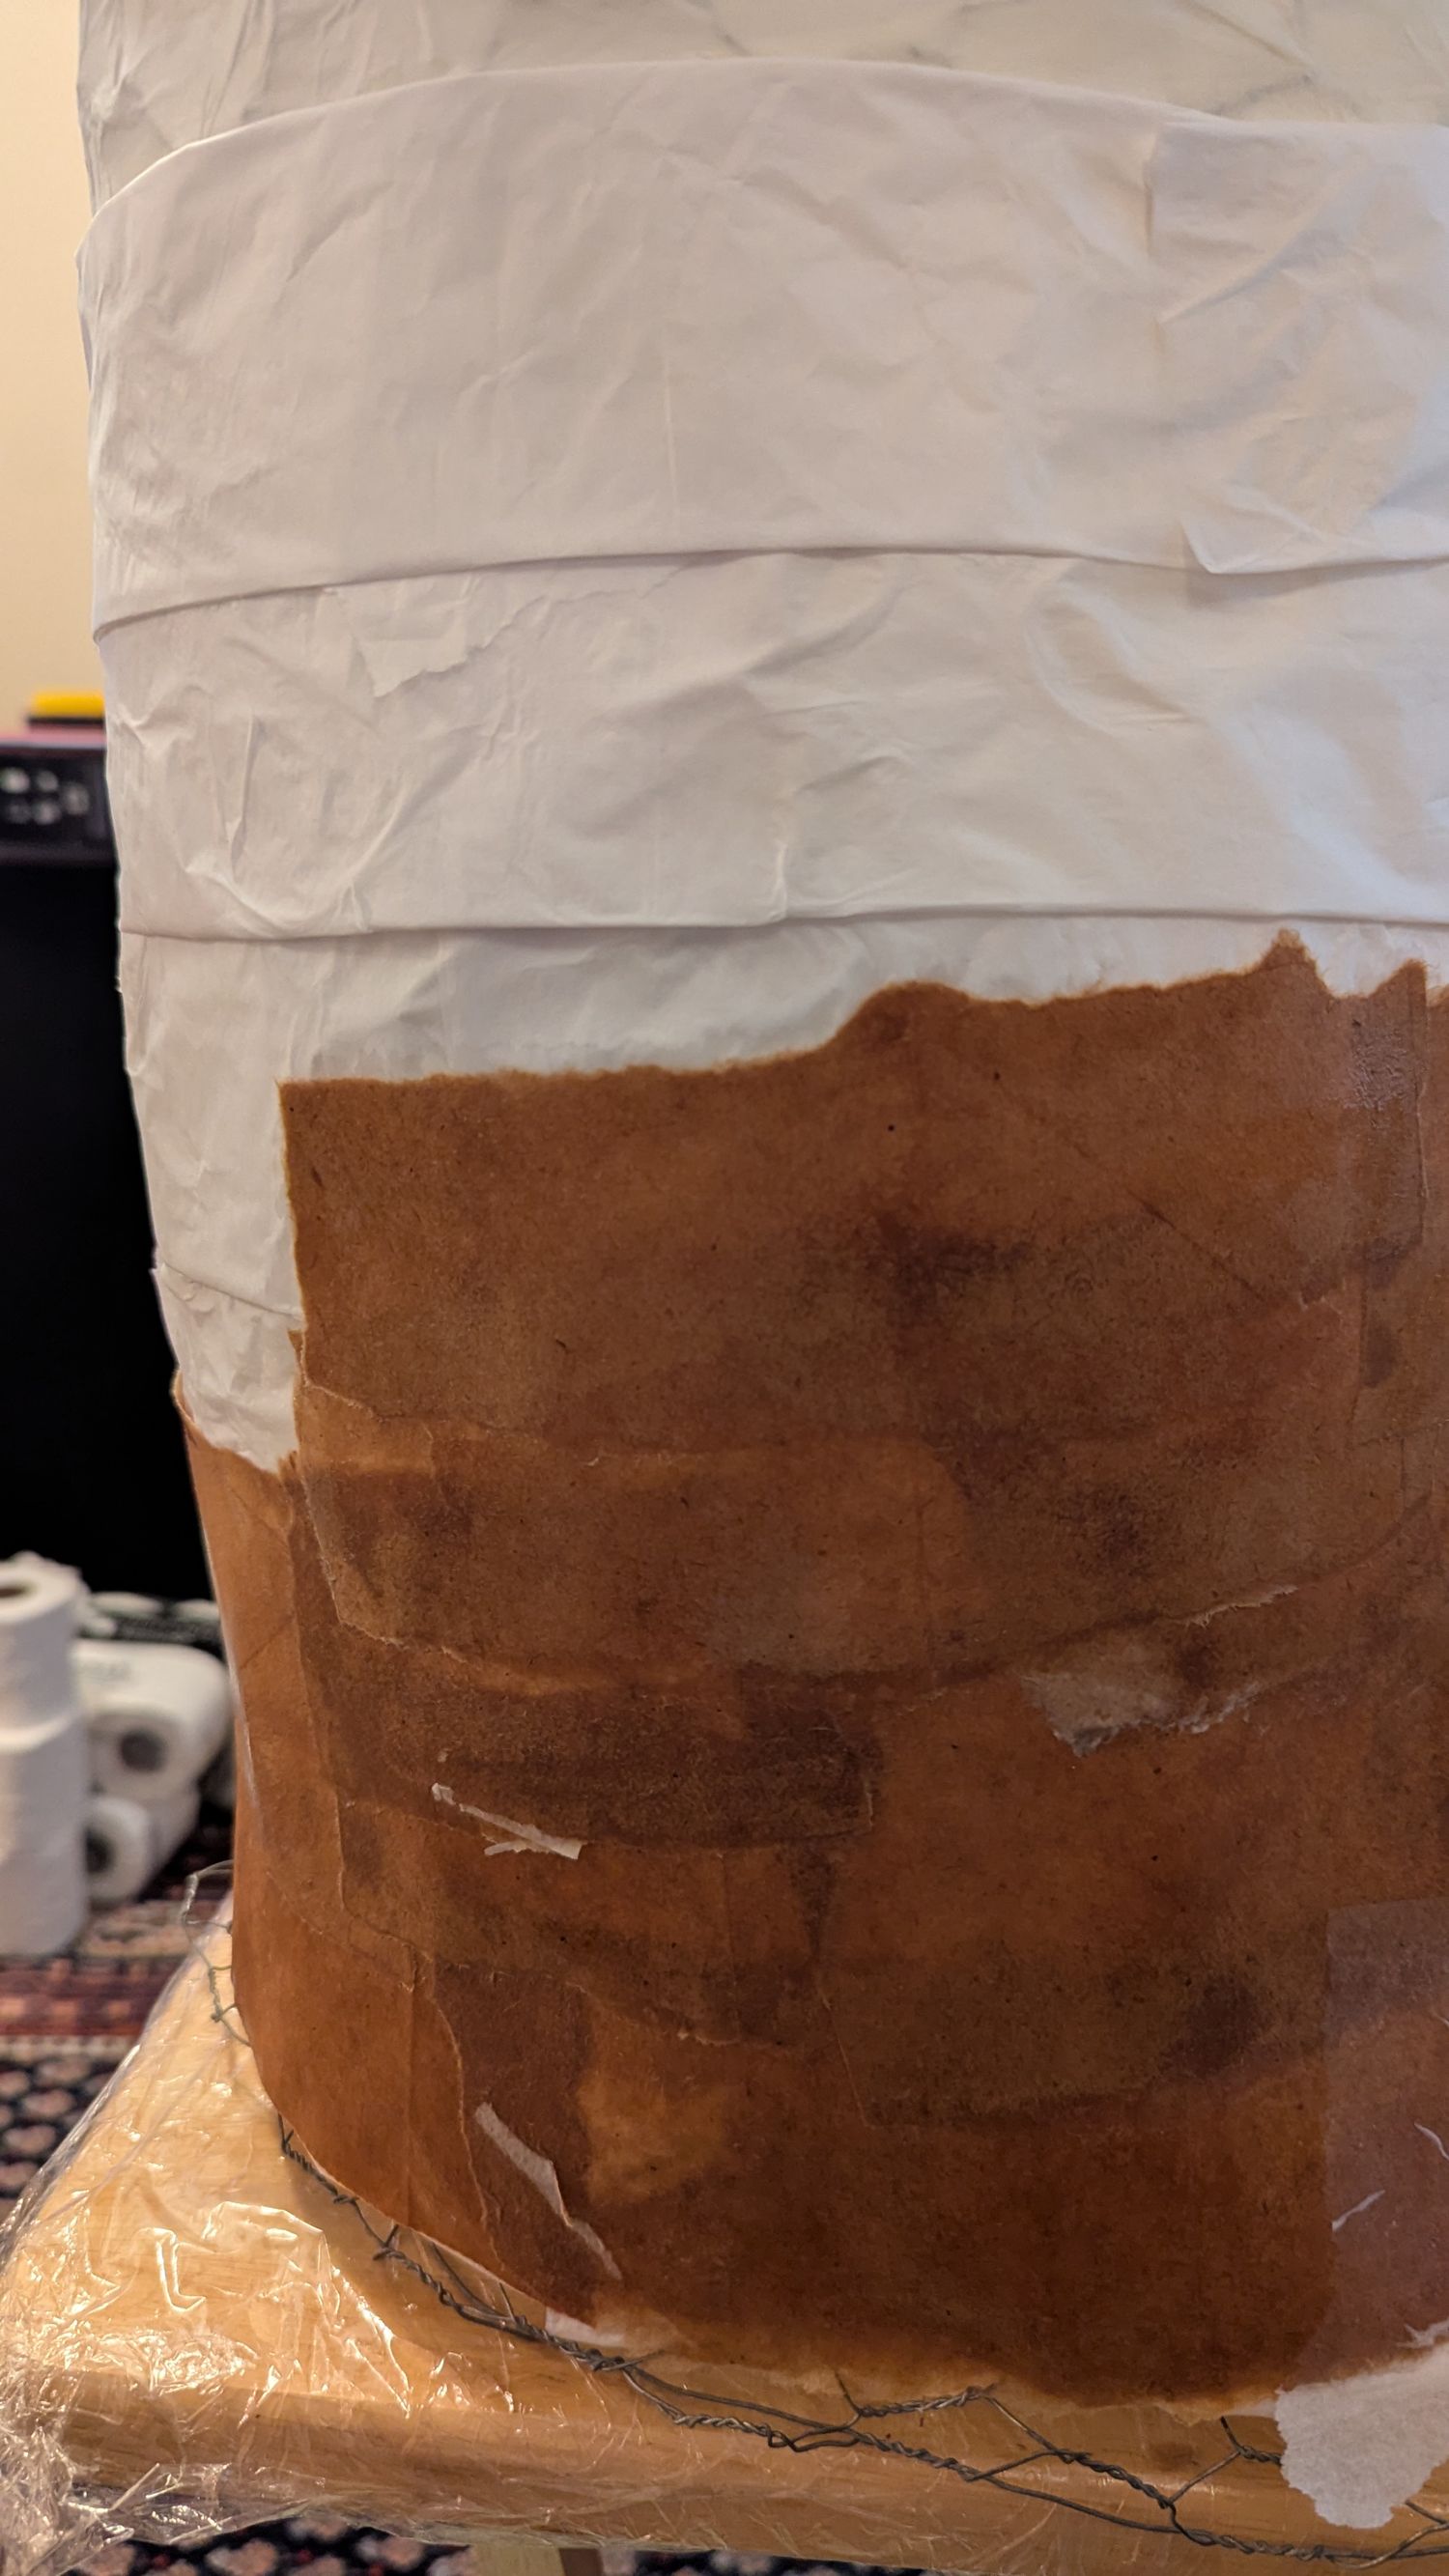
Next, I tore some grocery brown paper bags into 5 (ish) inch strips and soaked them in a mixture of (2:1) 2 parts water to 1 part glue for about 15 minutes. This saturated them and I pressed them onto the stems, smoothing them out so there weren't any lumps or gaps. I repeated this once they dried, so each stem had 2 layers of brown bag paper on them. They dried really solid and are actually fairly sturdy.
Once they dried, I decided they needed to be smoother. The brown bags had left ridges because that paper is so thick. So I went over them with tissue paper again. I used single layers and tried my best to make those as smooth as possible. I did 2 layers of tissue paper and they dried much smoother.
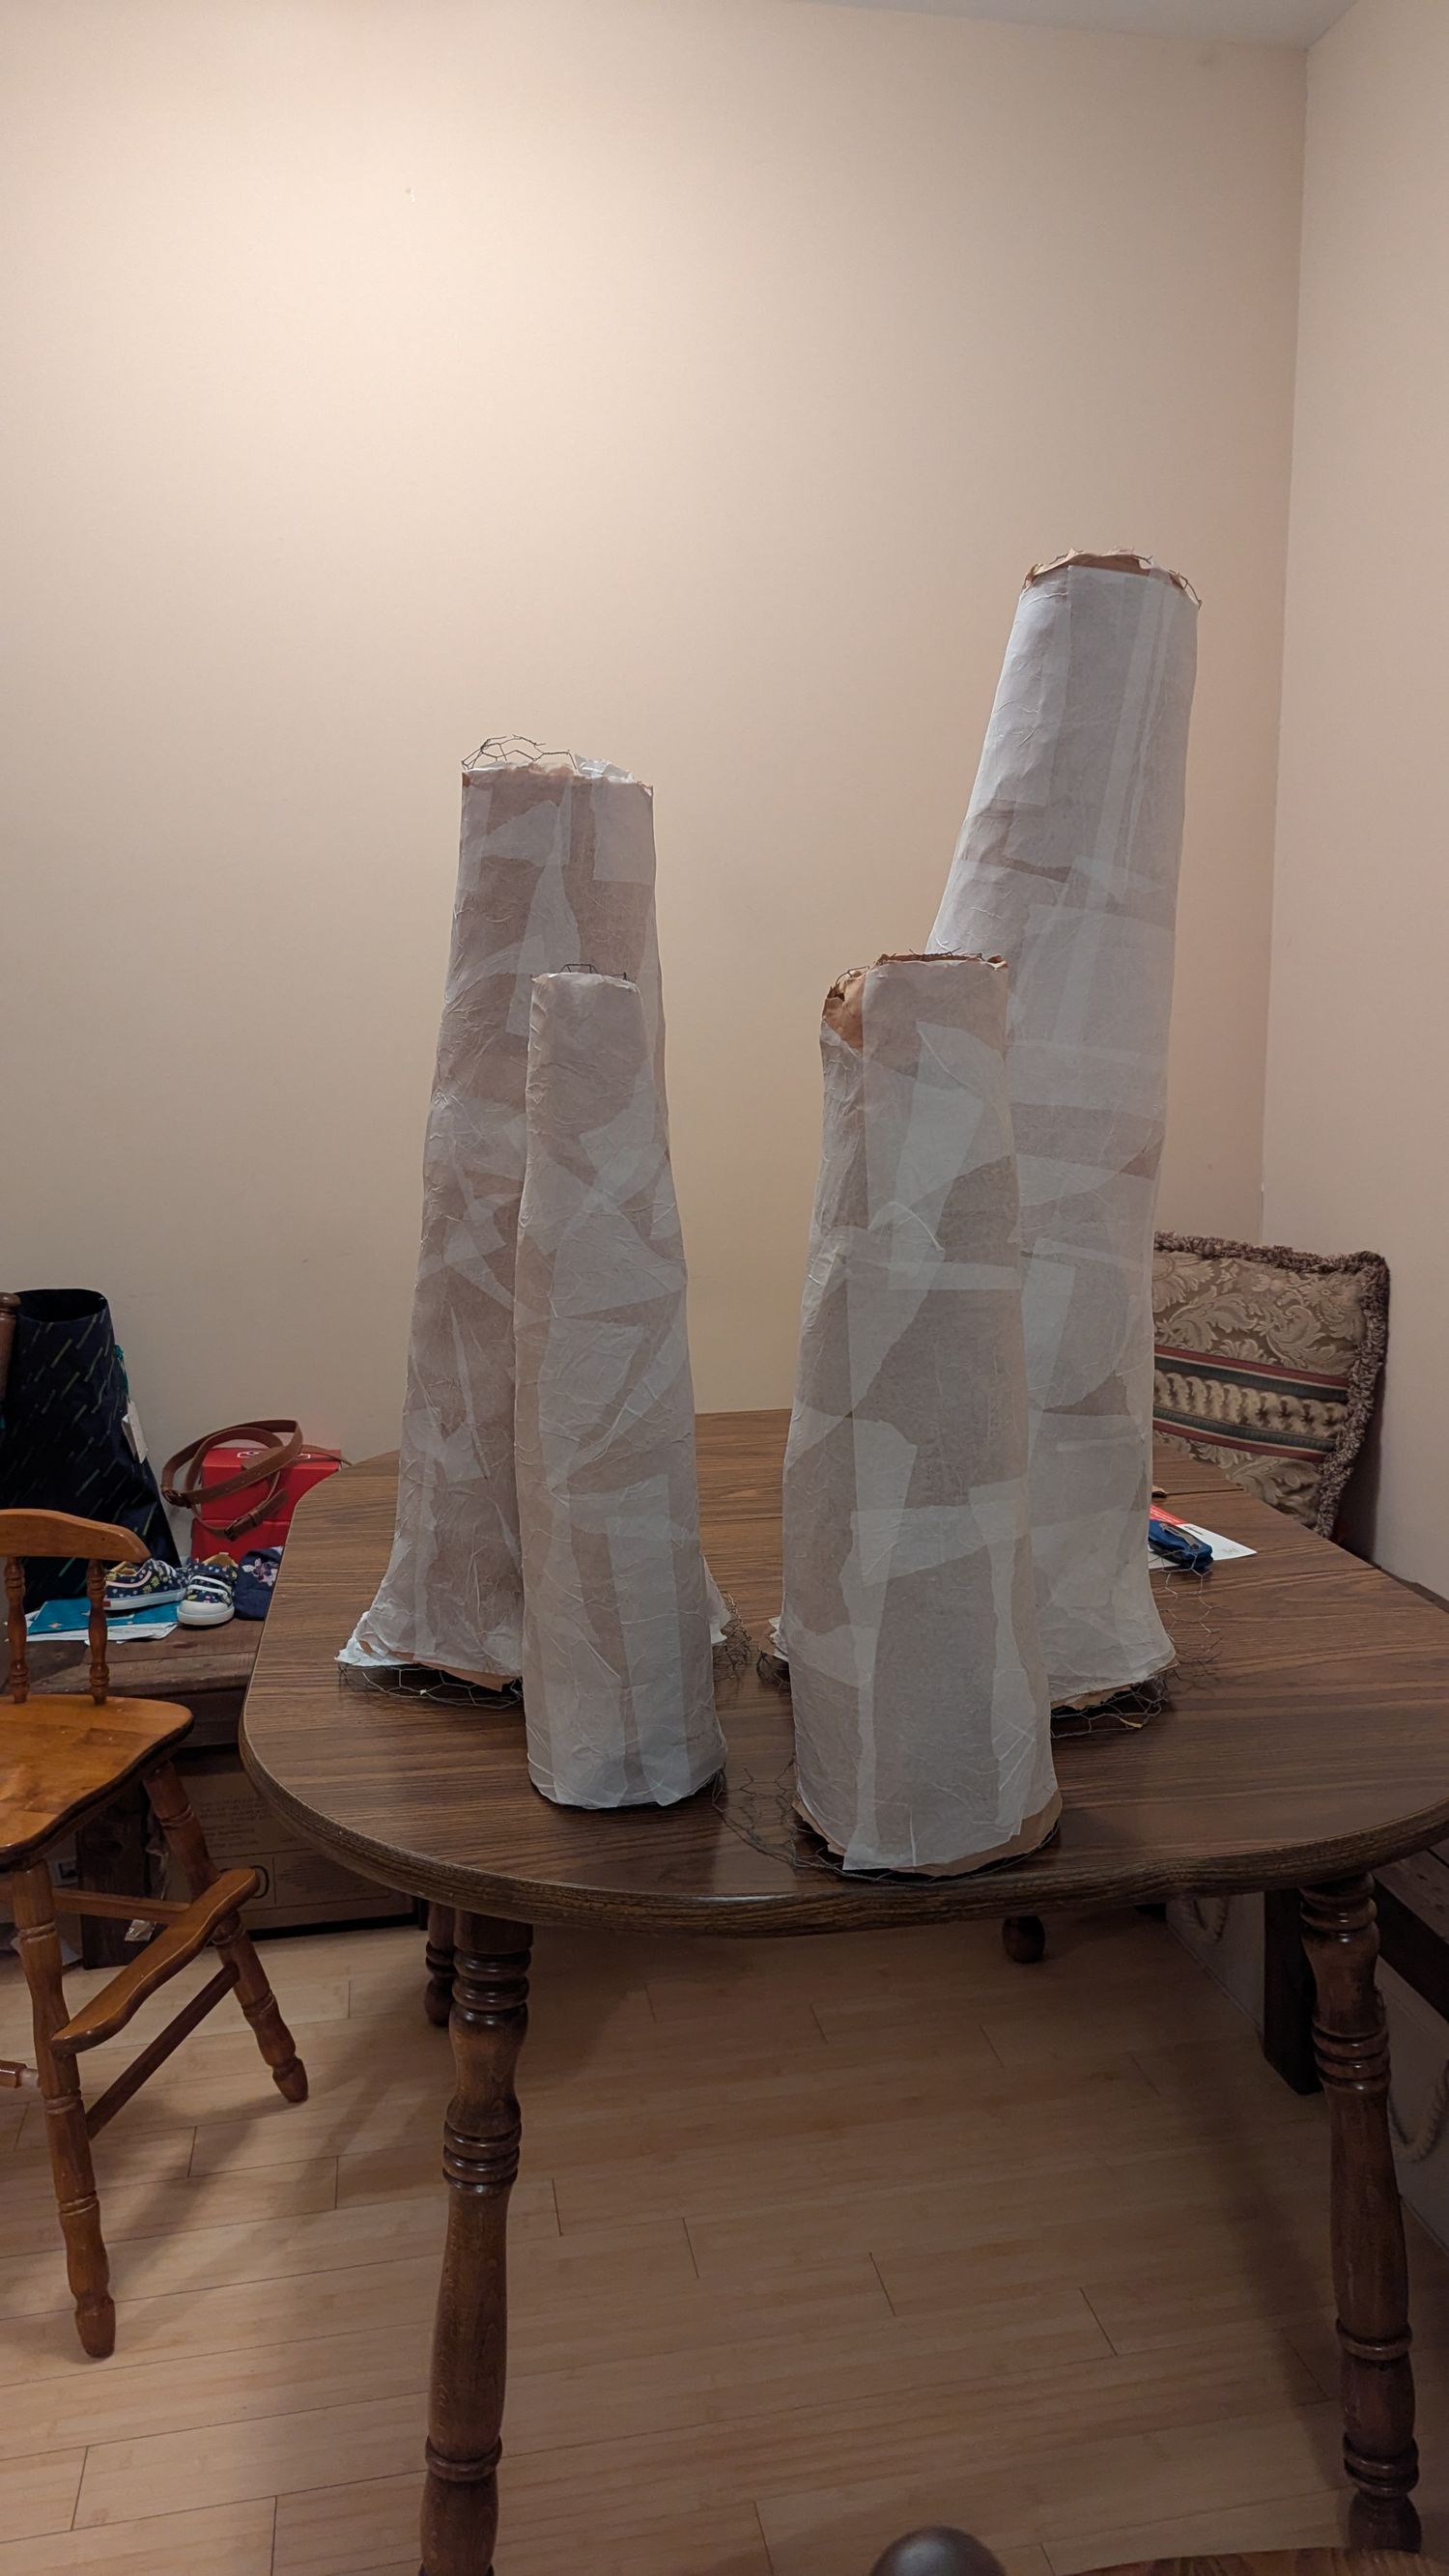
The Tops
With the Stems ready for paint, it was time to start on the tops. I found large boxes from our local grocery store, they always have abundant cardboard. I kind of guesstimated how big I wanted the tops depending on the size of the stem. Make your circle a tiny bit bigger than you think, because when it's rounded it'll seem more compact. To measure mine, I held a measuring tape in the middle of the stem and extended it out how far I wanted the cap to go. I cut a string this long and pinned it in the middle of a large piece of cardboard. Using the string as a circle guide, I marked the circle for cutting.
The next step is determining how closed or open you want the caps to be. Newer mushrooms start with a "closed umbrella" shape and they open as the mushroom ages. Since I had various sizes, I also did various stages of bloom.
To get the domed shape, I first traced a smaller inner circle. This will keep the mushroom from being pointy. Then I measured equal segments around the circle. The bigger the segment, the more closed the mushroom. For the 2 large ones, I did 4 small segments. For the smaller caps, I did 8 larger segments.
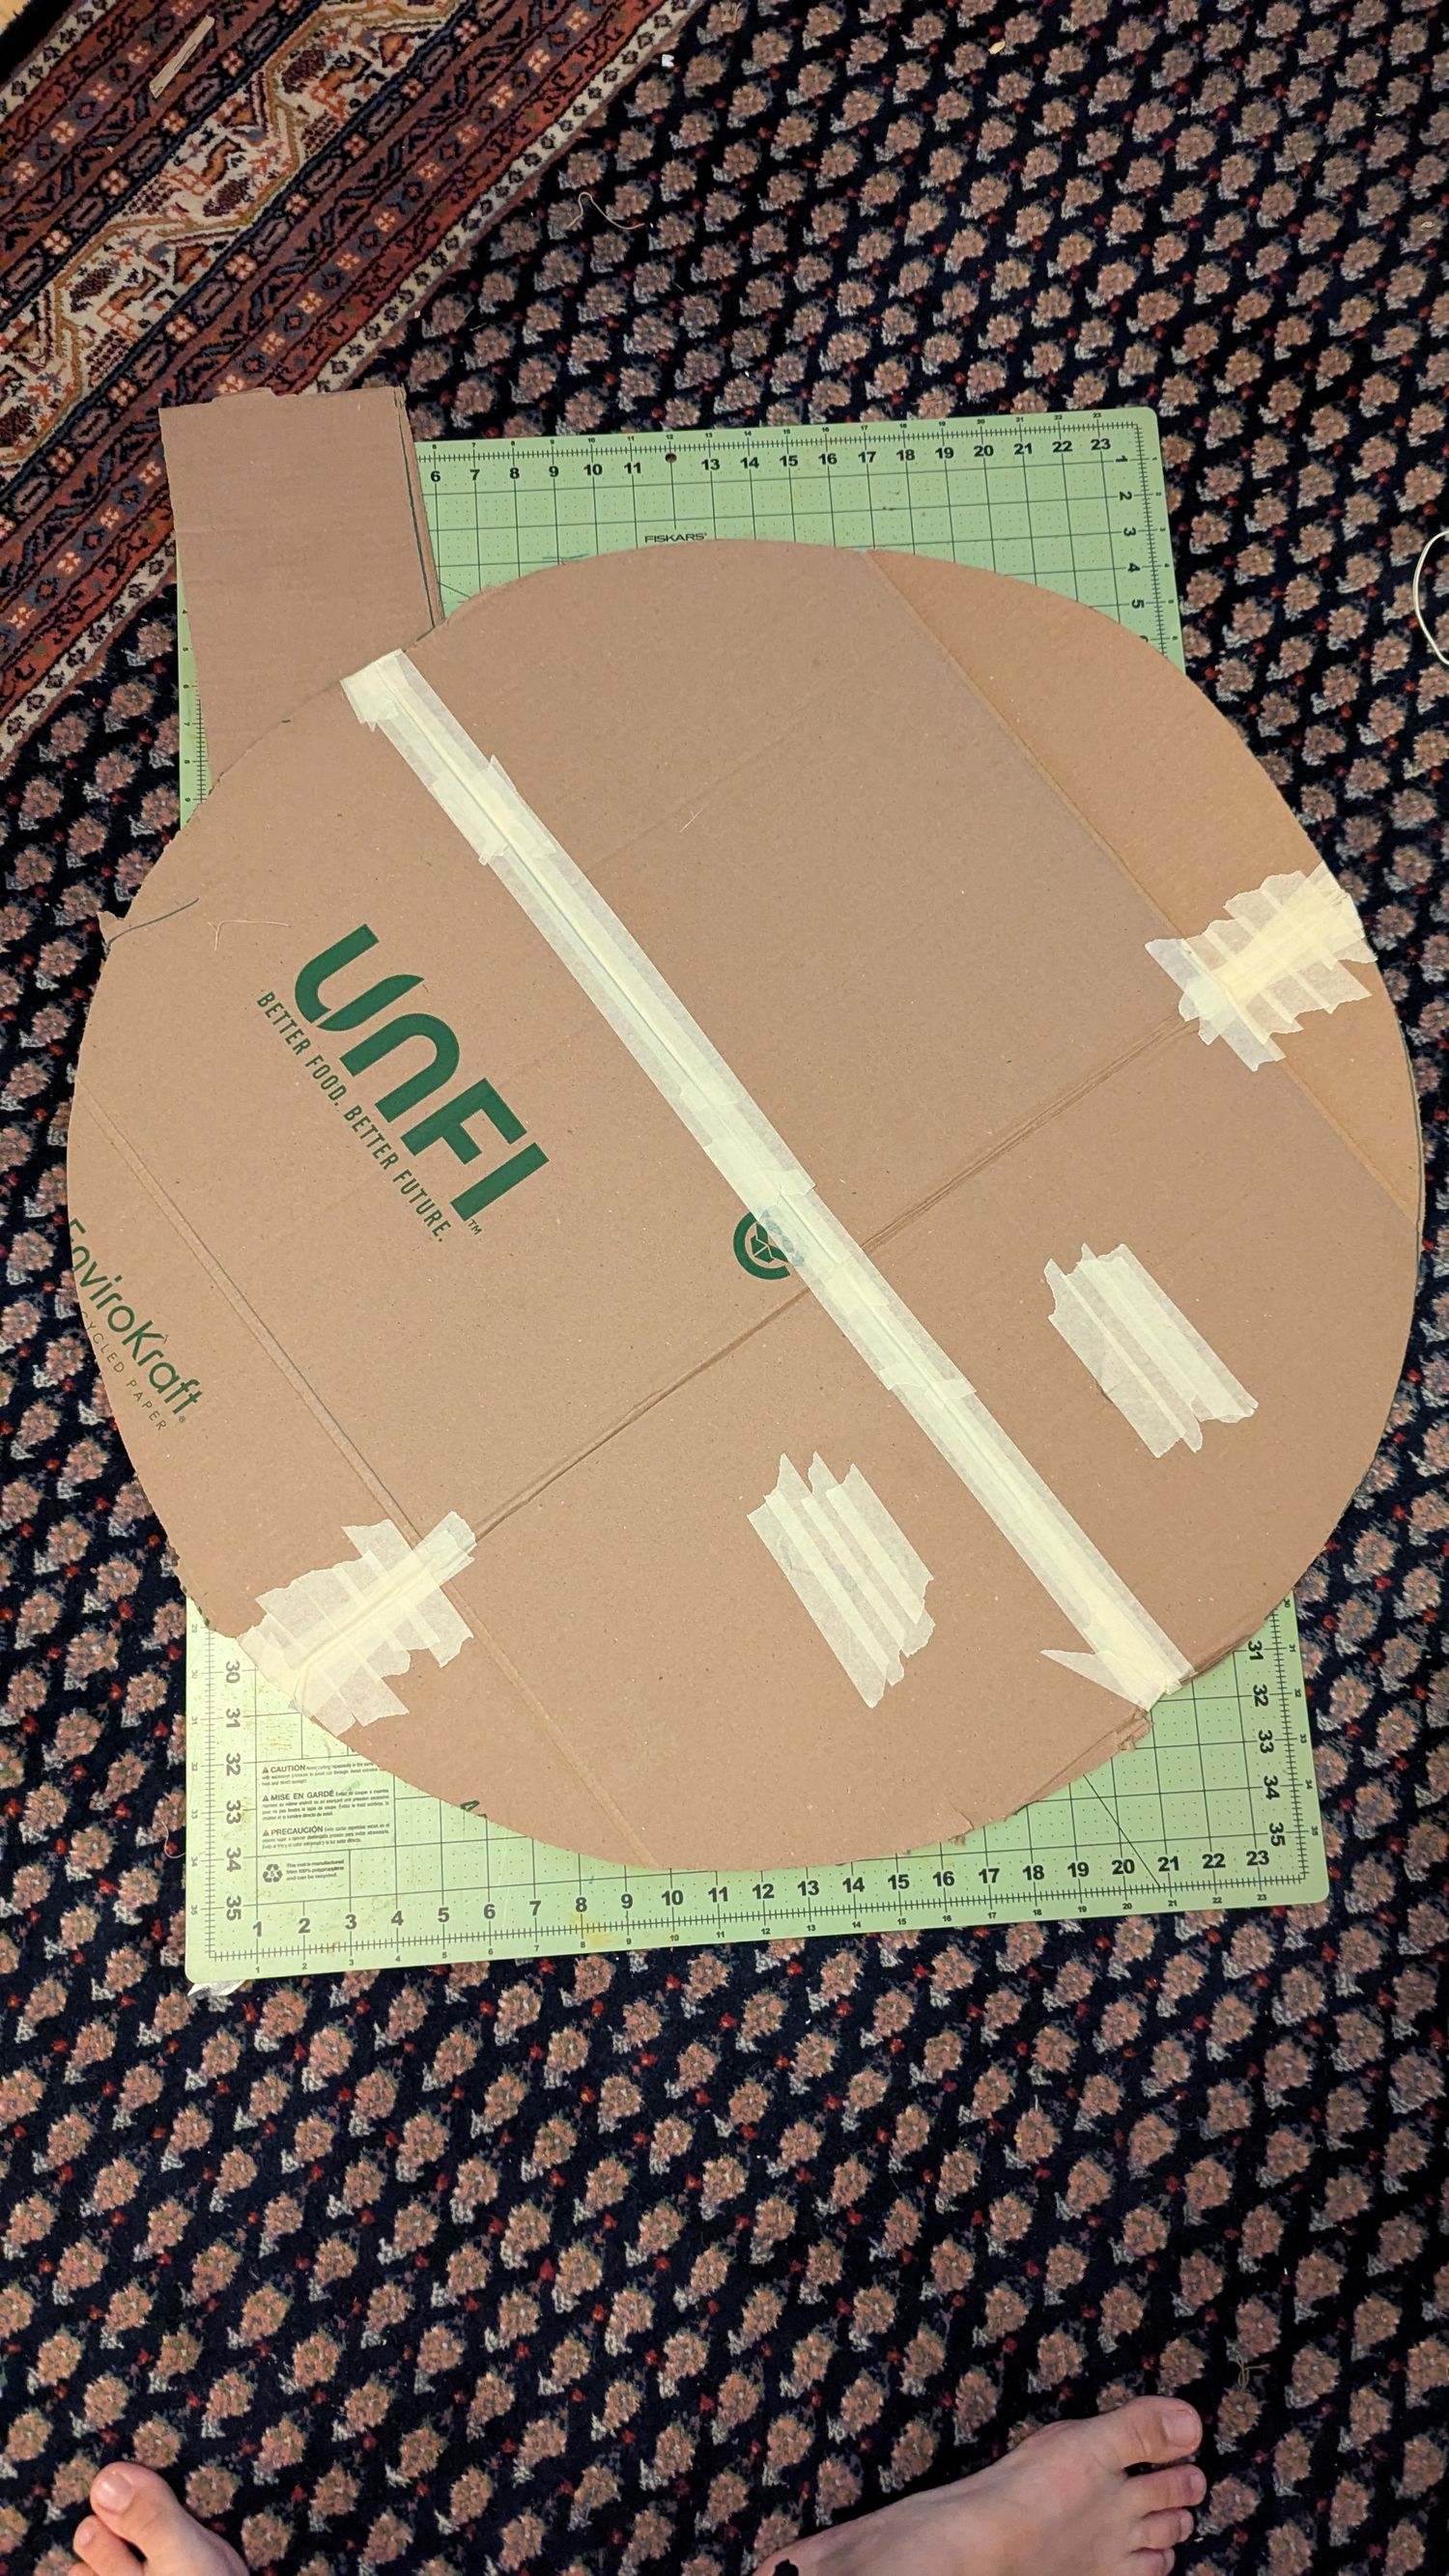
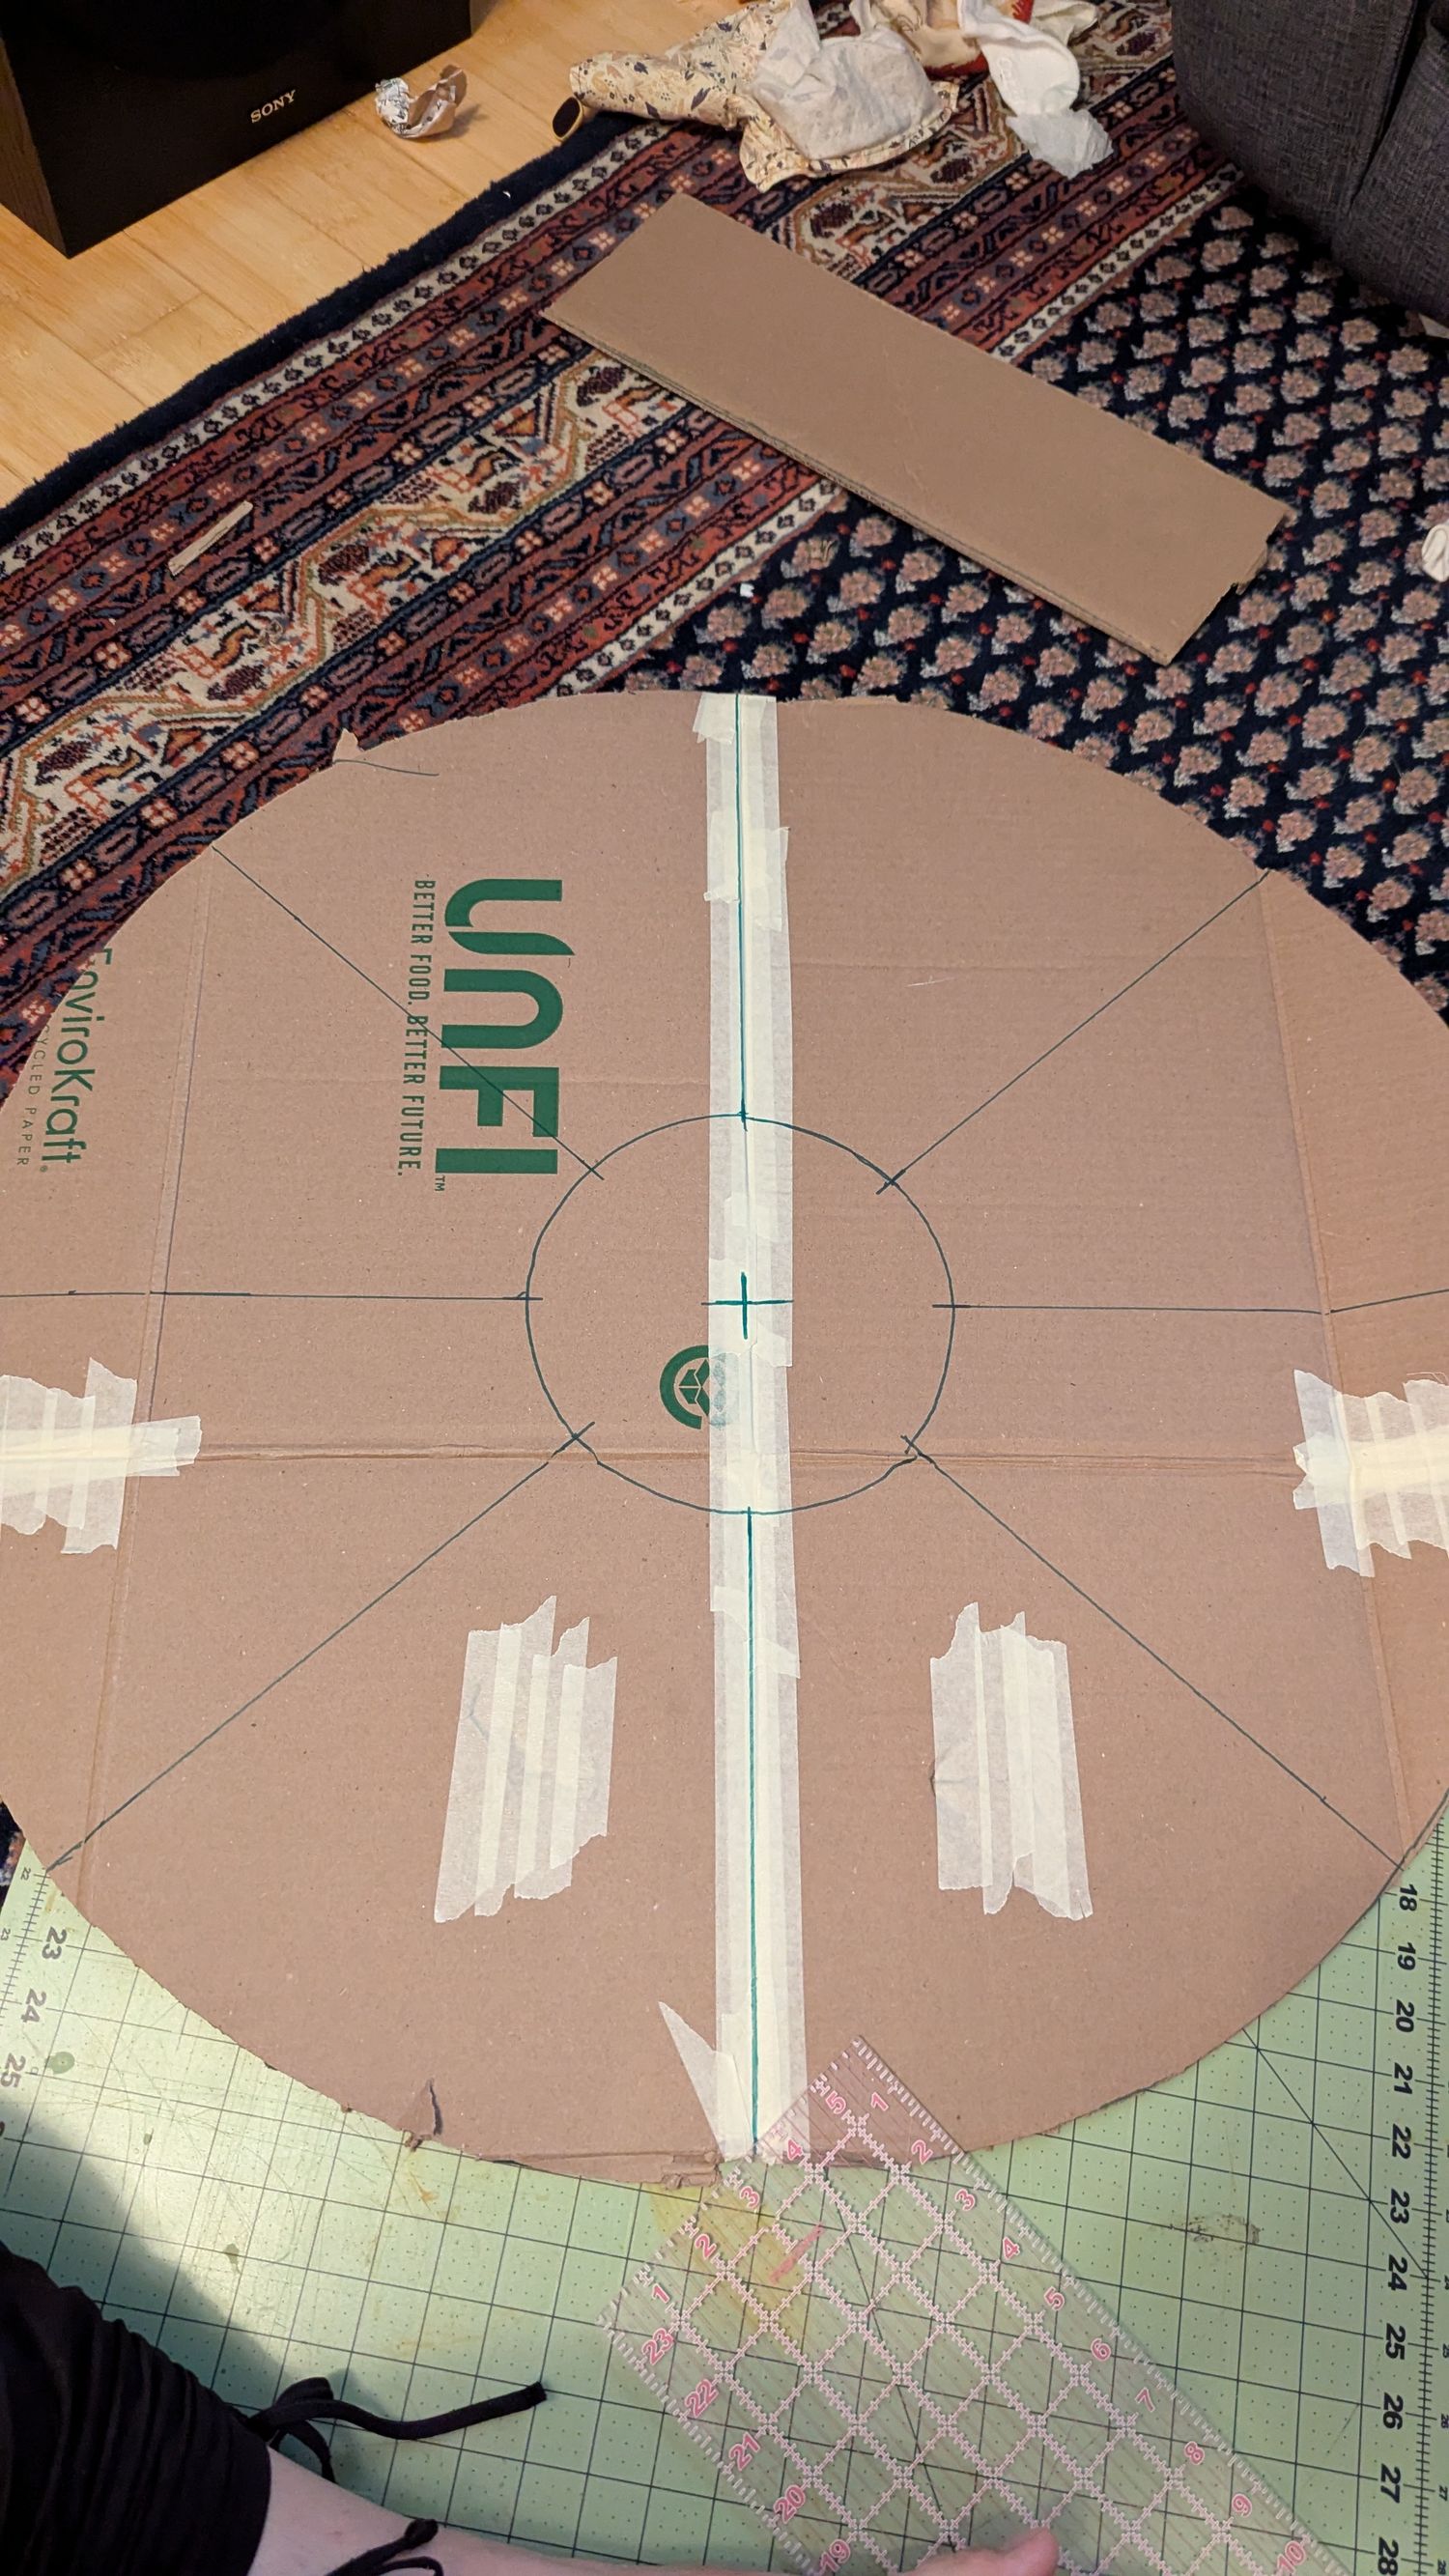
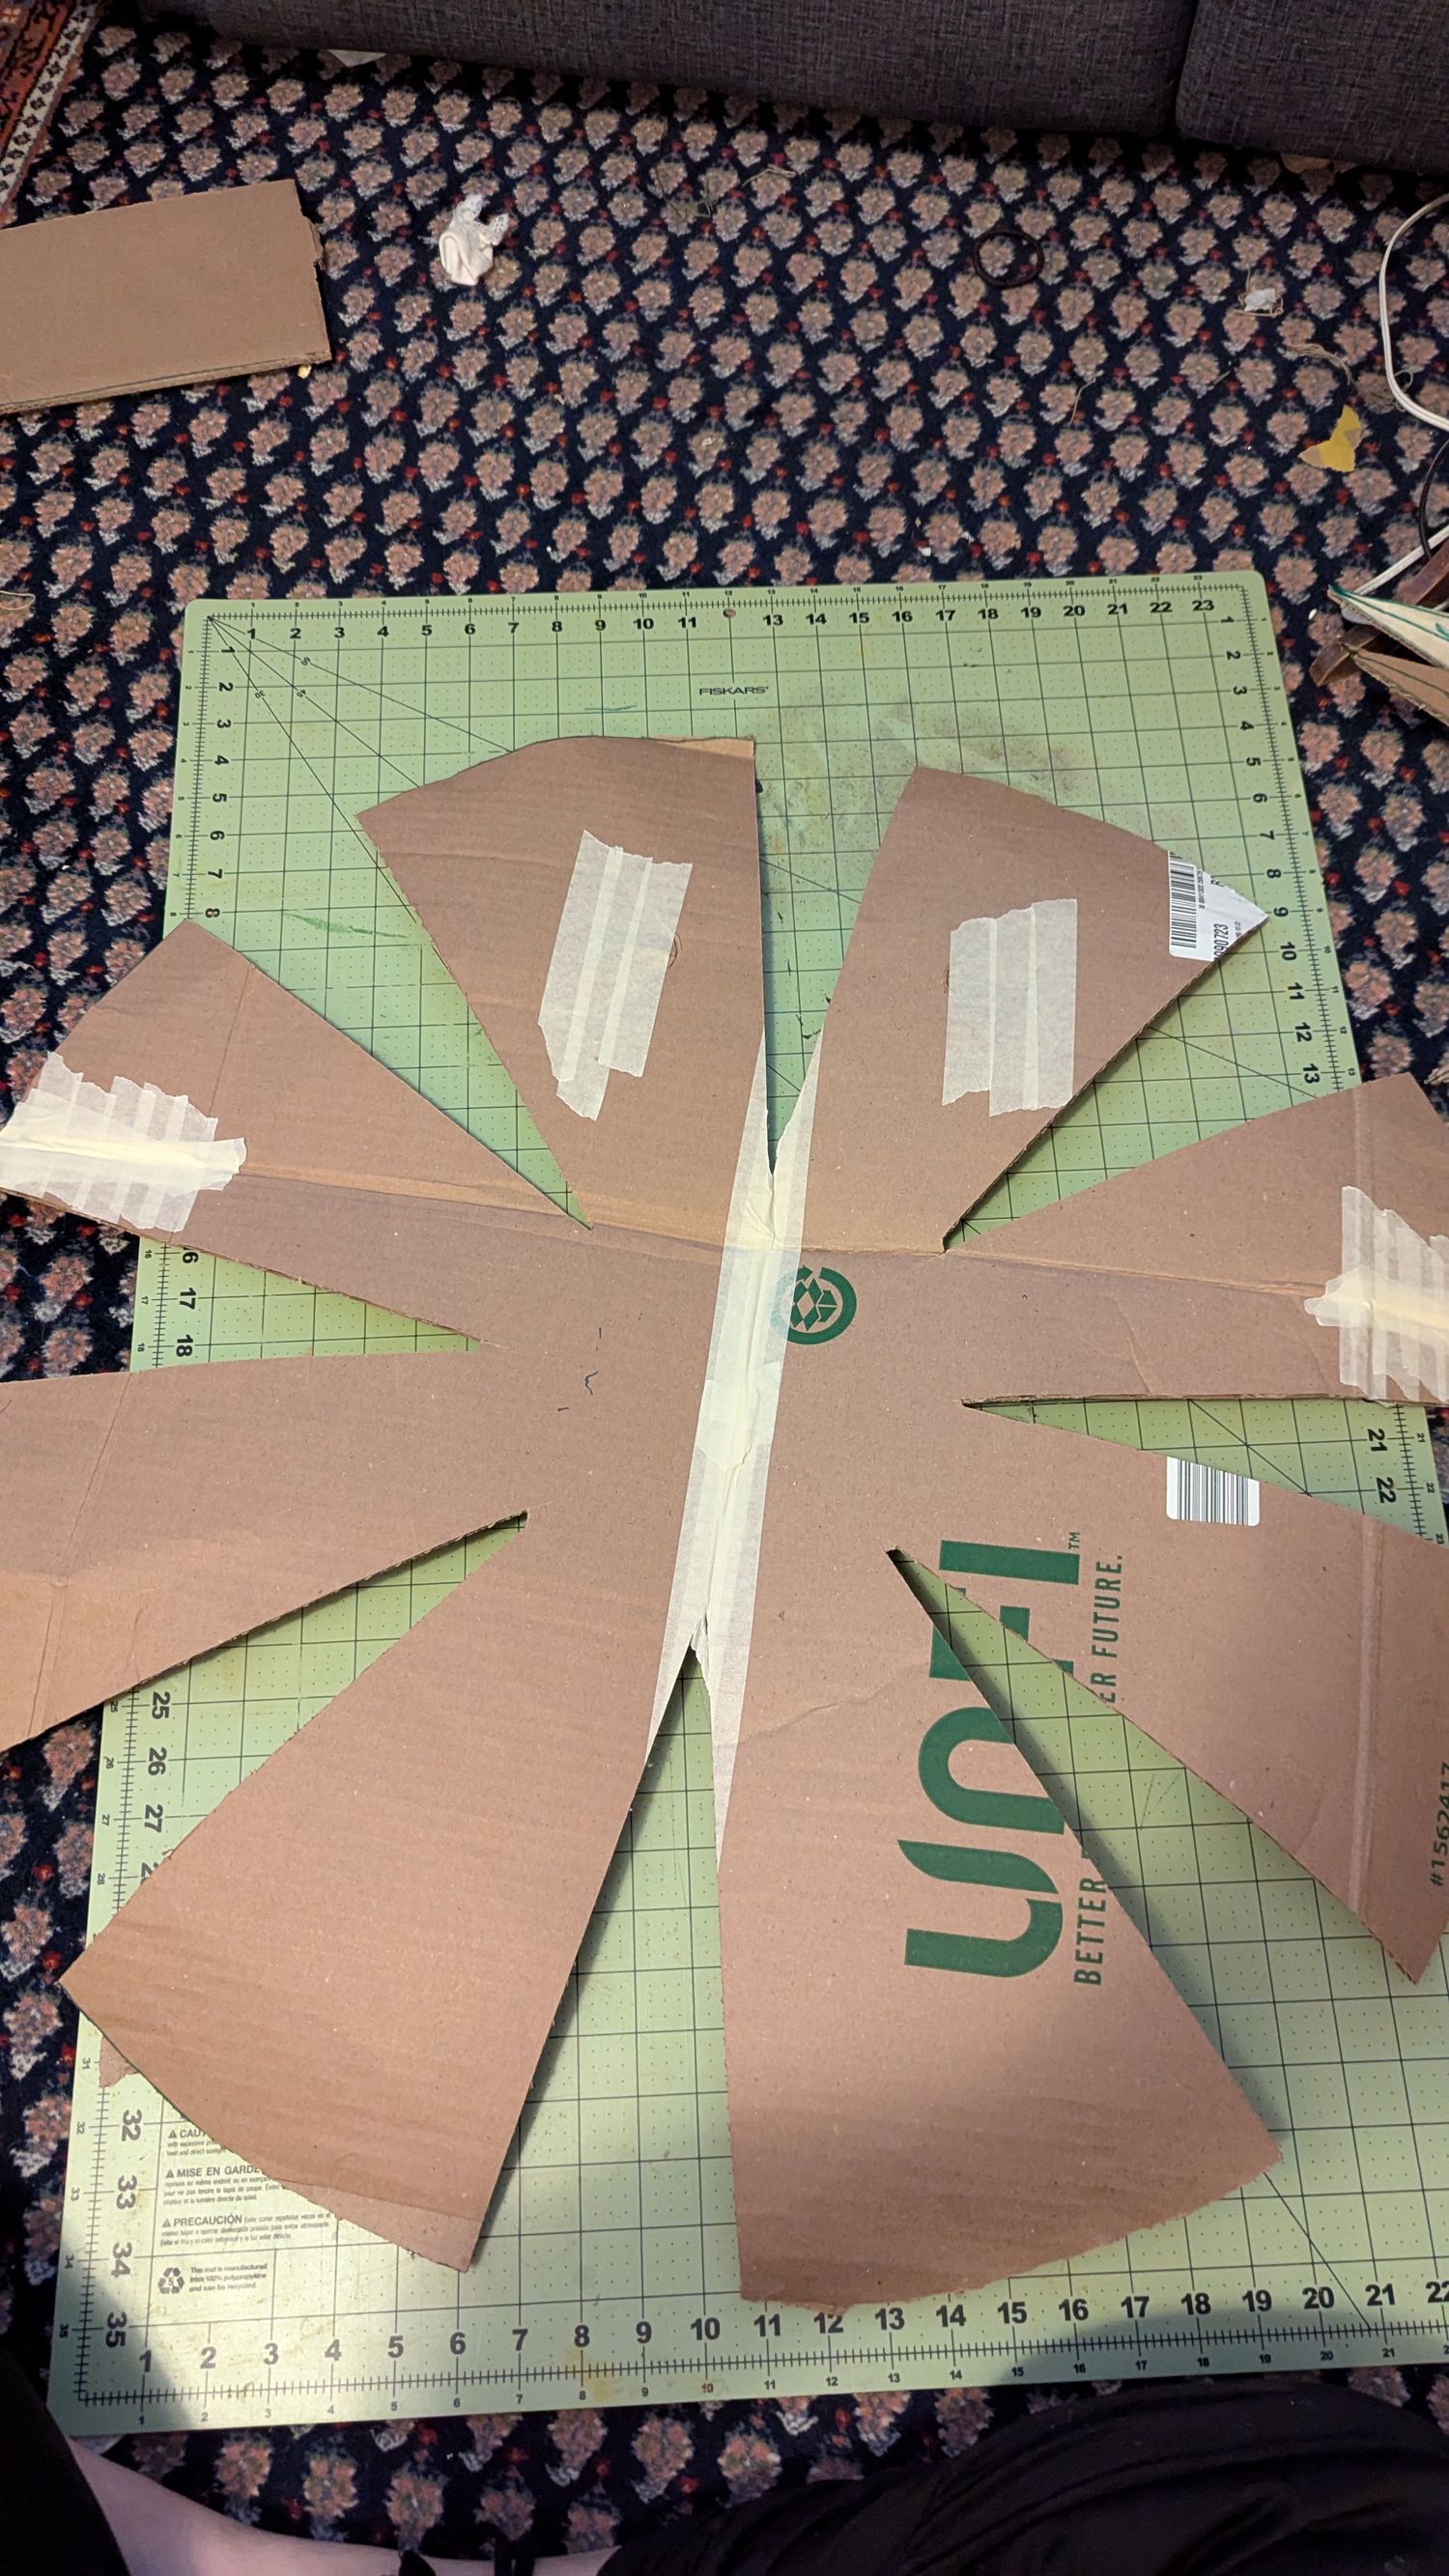
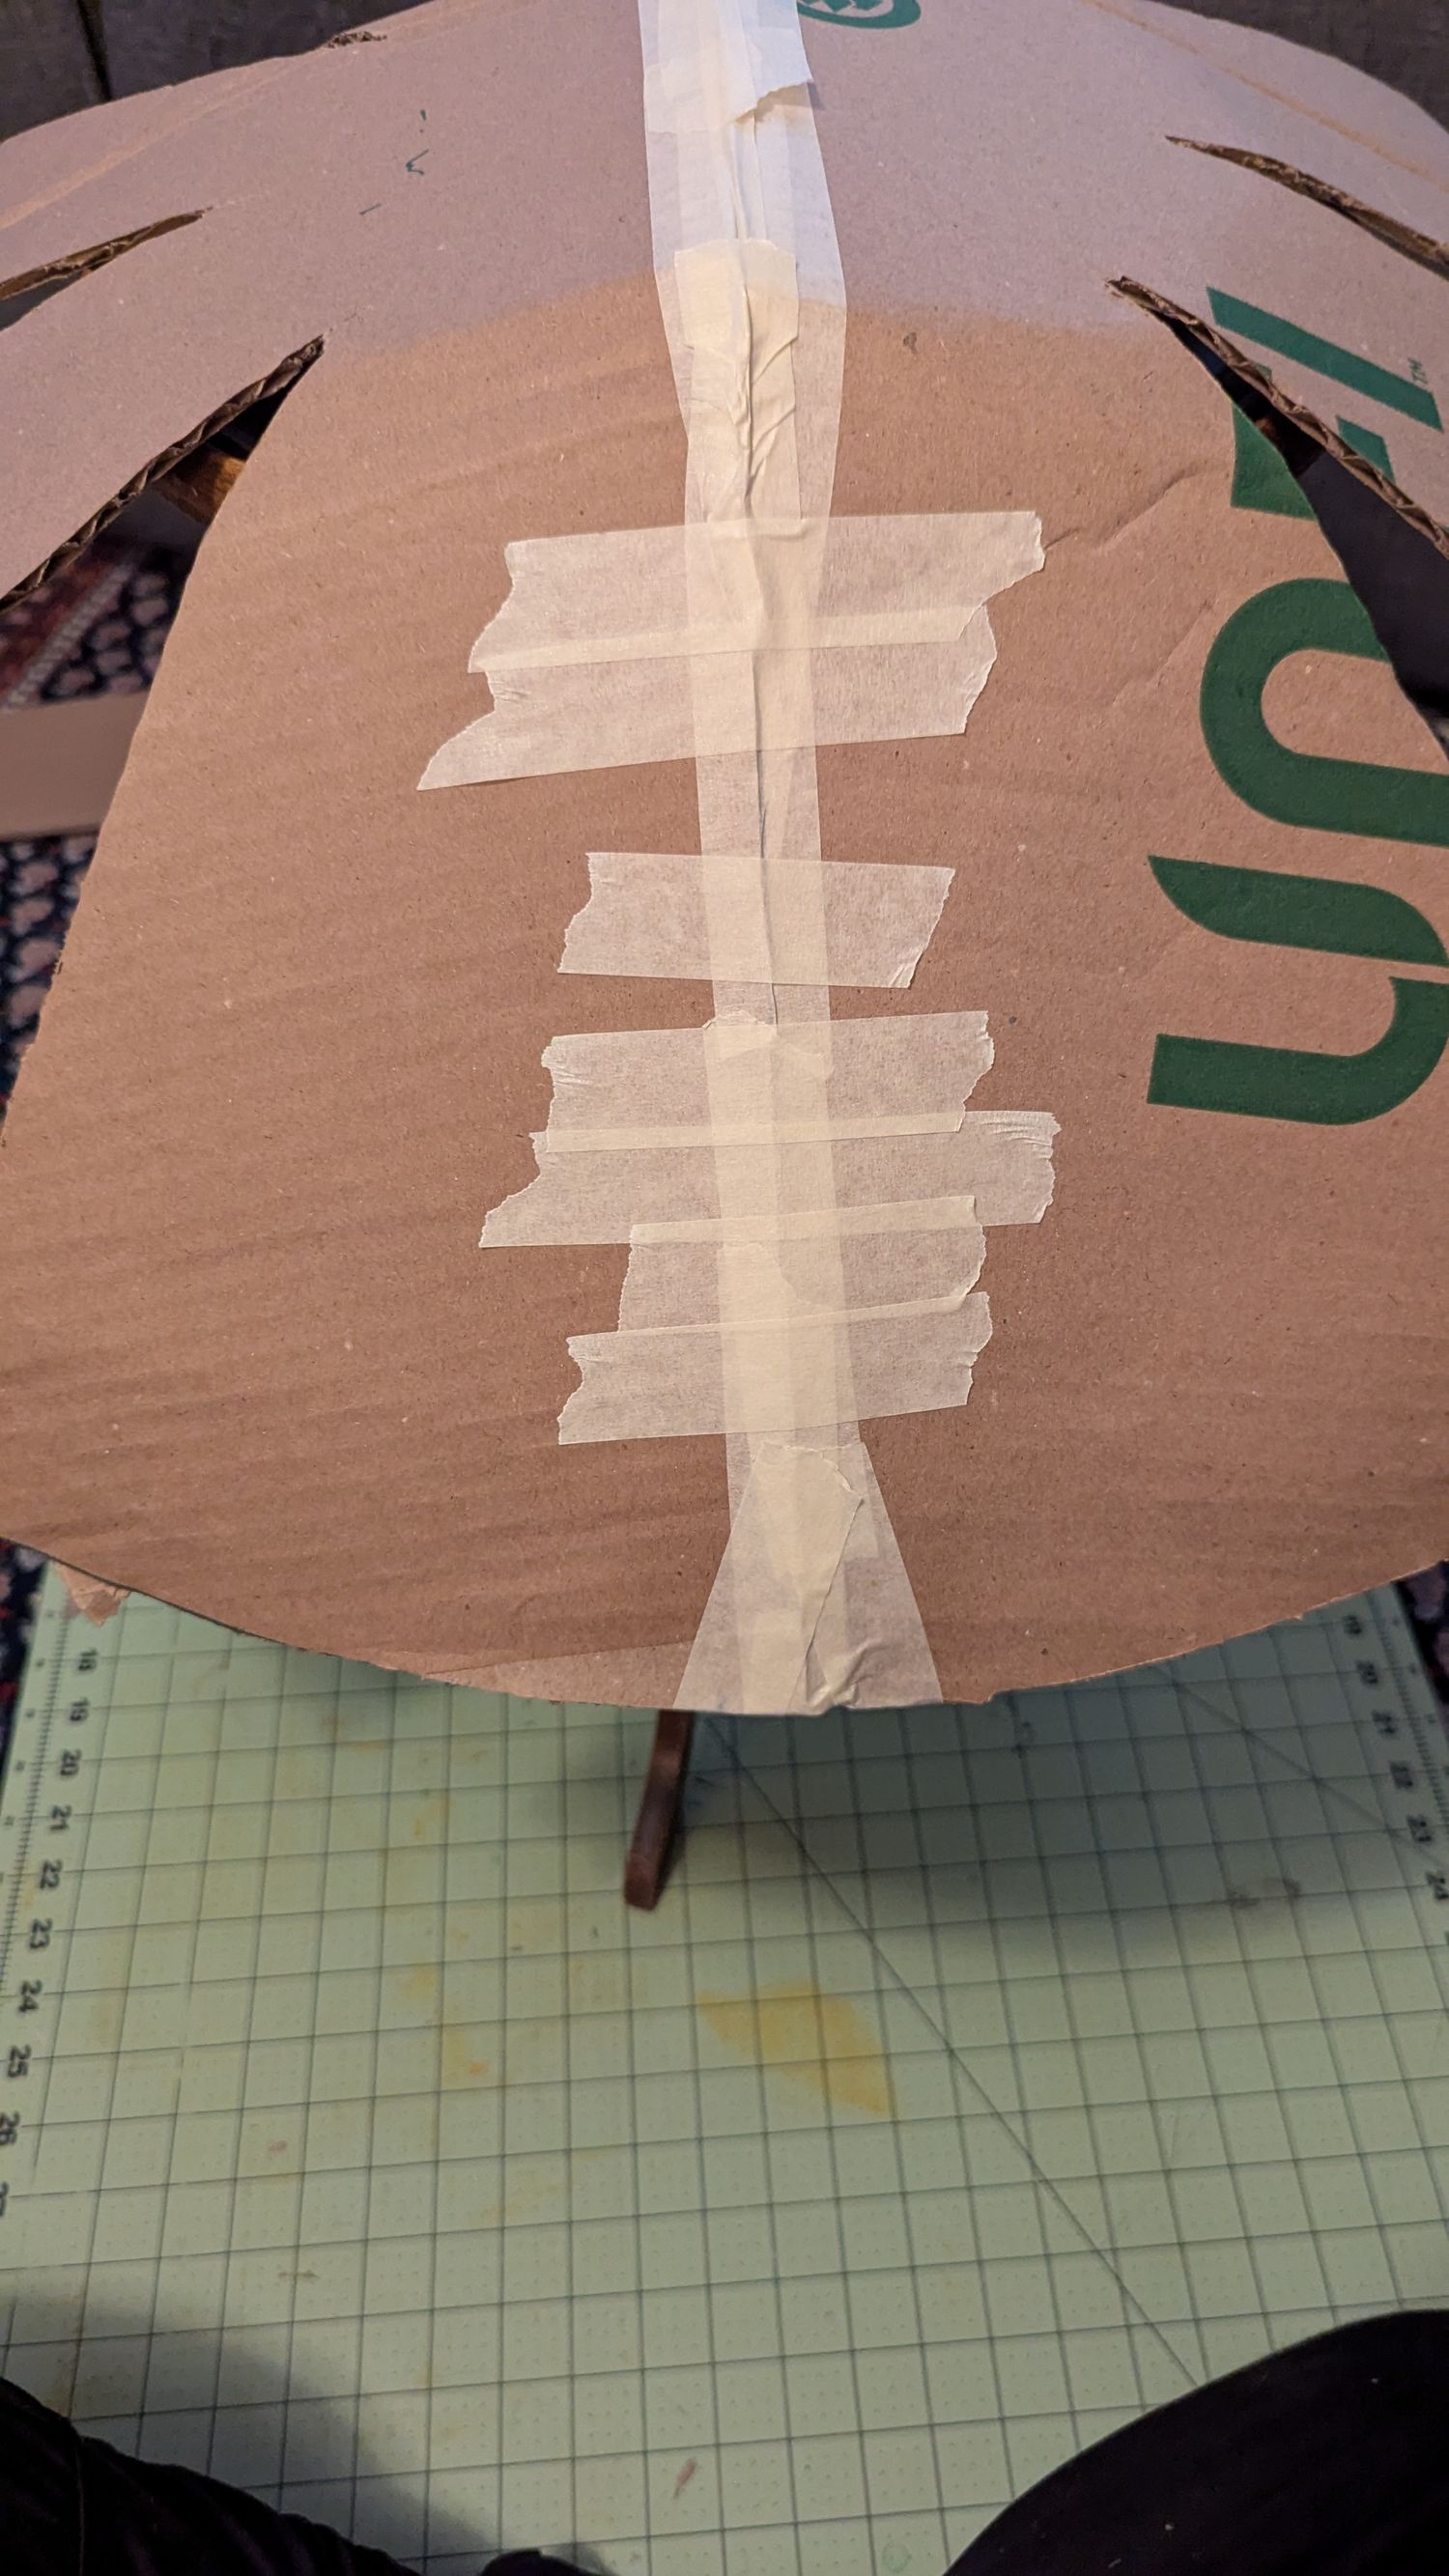
Securing them together is tricky. You need to cut out the segments you drew and then bend them in so they are softer and not so stiff. This helps the cap look more rounded. Bring the edges of each segment together at the bottom and secure with tape. Lots of tape! Continue all the way around and you'll have a dome.
Filling it in!
This is the part where I have to apologize again. I didn't take pictures of this part of the process. If you are actually trying to make this and need further guidance, let me know!
Before smoothing it out, I used some twisted Paper Bag pieces and taped them to the edge of the big open caps, to help round out the shape. I used masking tape to make a continuous round lip.
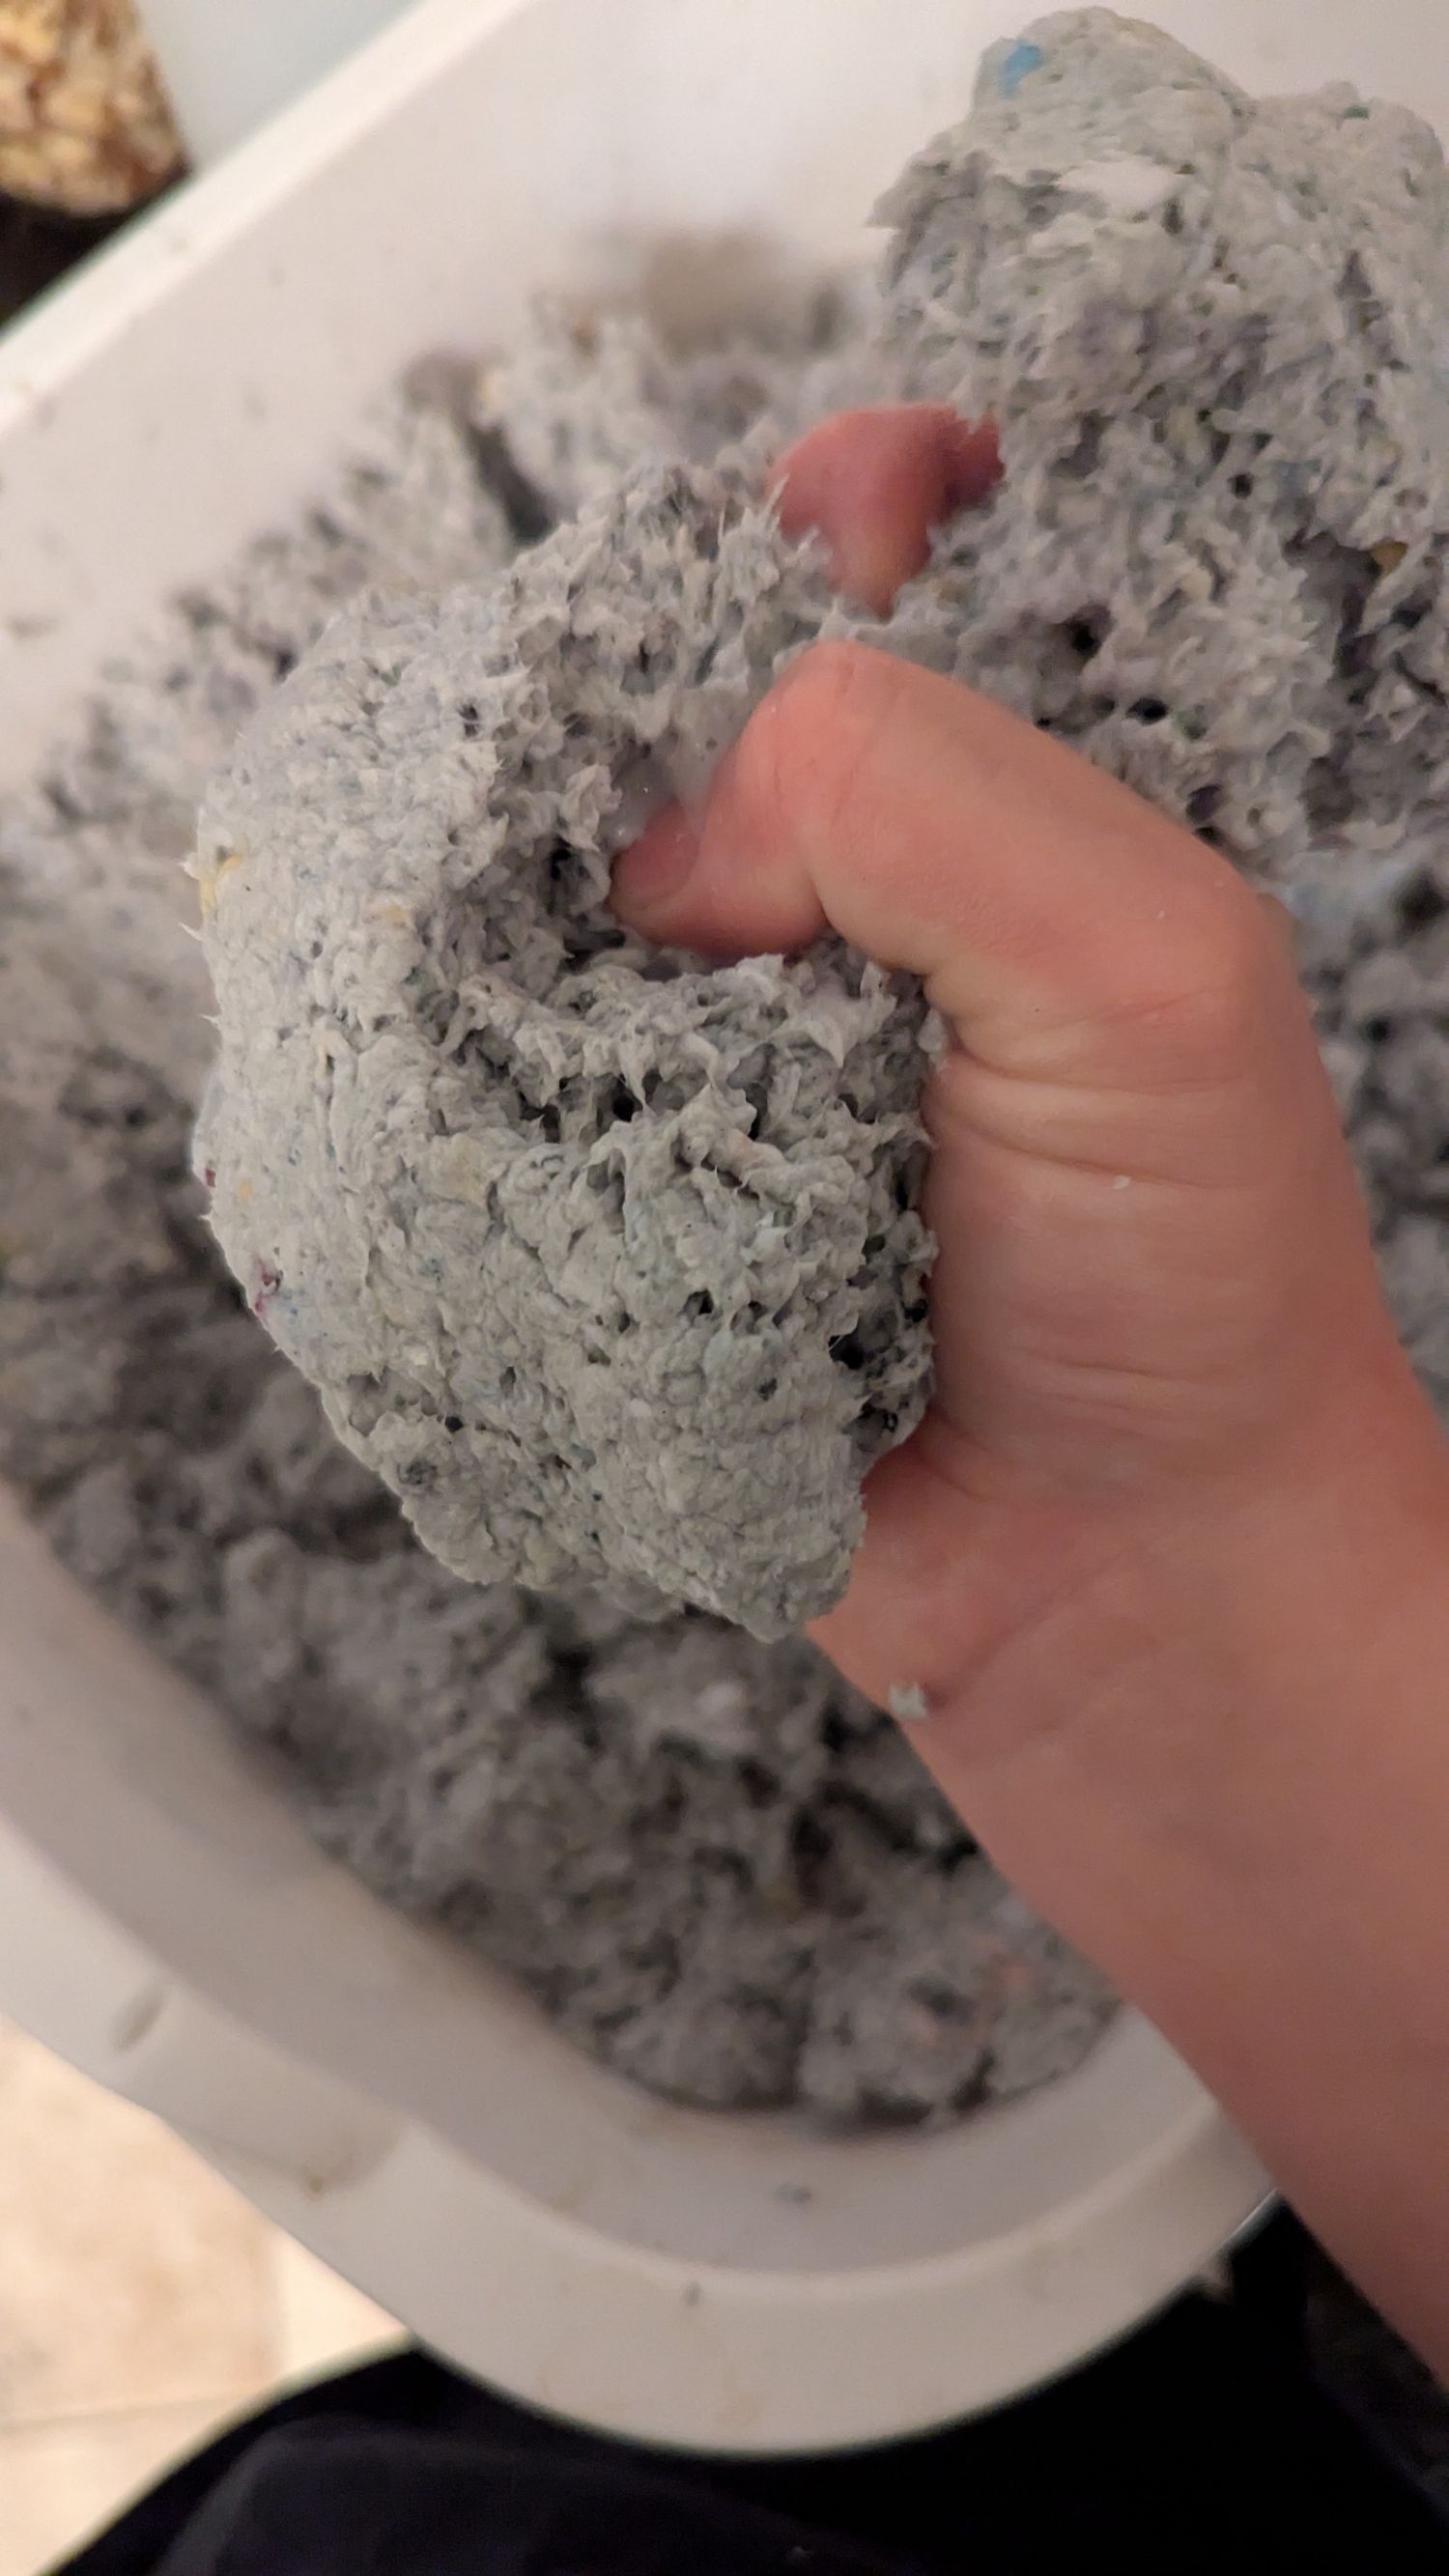
I think there are lot's of ways that you can finish this part. I was attempting to use materials I already had to complete this project, so my choices are affected by that. To round out the cap and make it more realistic, I used a very basic paper mache "clay". I accomplished this by soaking my pile of to-be-shredded junk mail (minus the plastic and heavy cardstock mailers) in a tub of water overnight. In the morning I smushed it all together, and even used a stick blender to make it as smooth as possible. Once I was happy with the consistency, I added some Glue. It was a measure with your heart situation, I'm sorry, I'll try to be better in the future. This made a pulpy but moldable clay like substance that I patted and shaped on top of the caps. I did not have enough of this clay to do every mushroom so I needed to find something else. Walmart sells a super cheap pack of 4 rolls of toilet paper for 98 cents. It did not seem like effective toilet paper but it made a very smooth and easy to use paper clay. Highly recommend!
Ok we are almost there...
Use the paper clay and even layers of padding if needed, to smooth and round out your mushroom cap. Once the clay was dry, I was able to sand it down with a fine grit. This was great for getting the lumps out and evening out the overall shape. To finish it off and make it even smoother, I did a layer of tissue paper with that same glue/water mix.
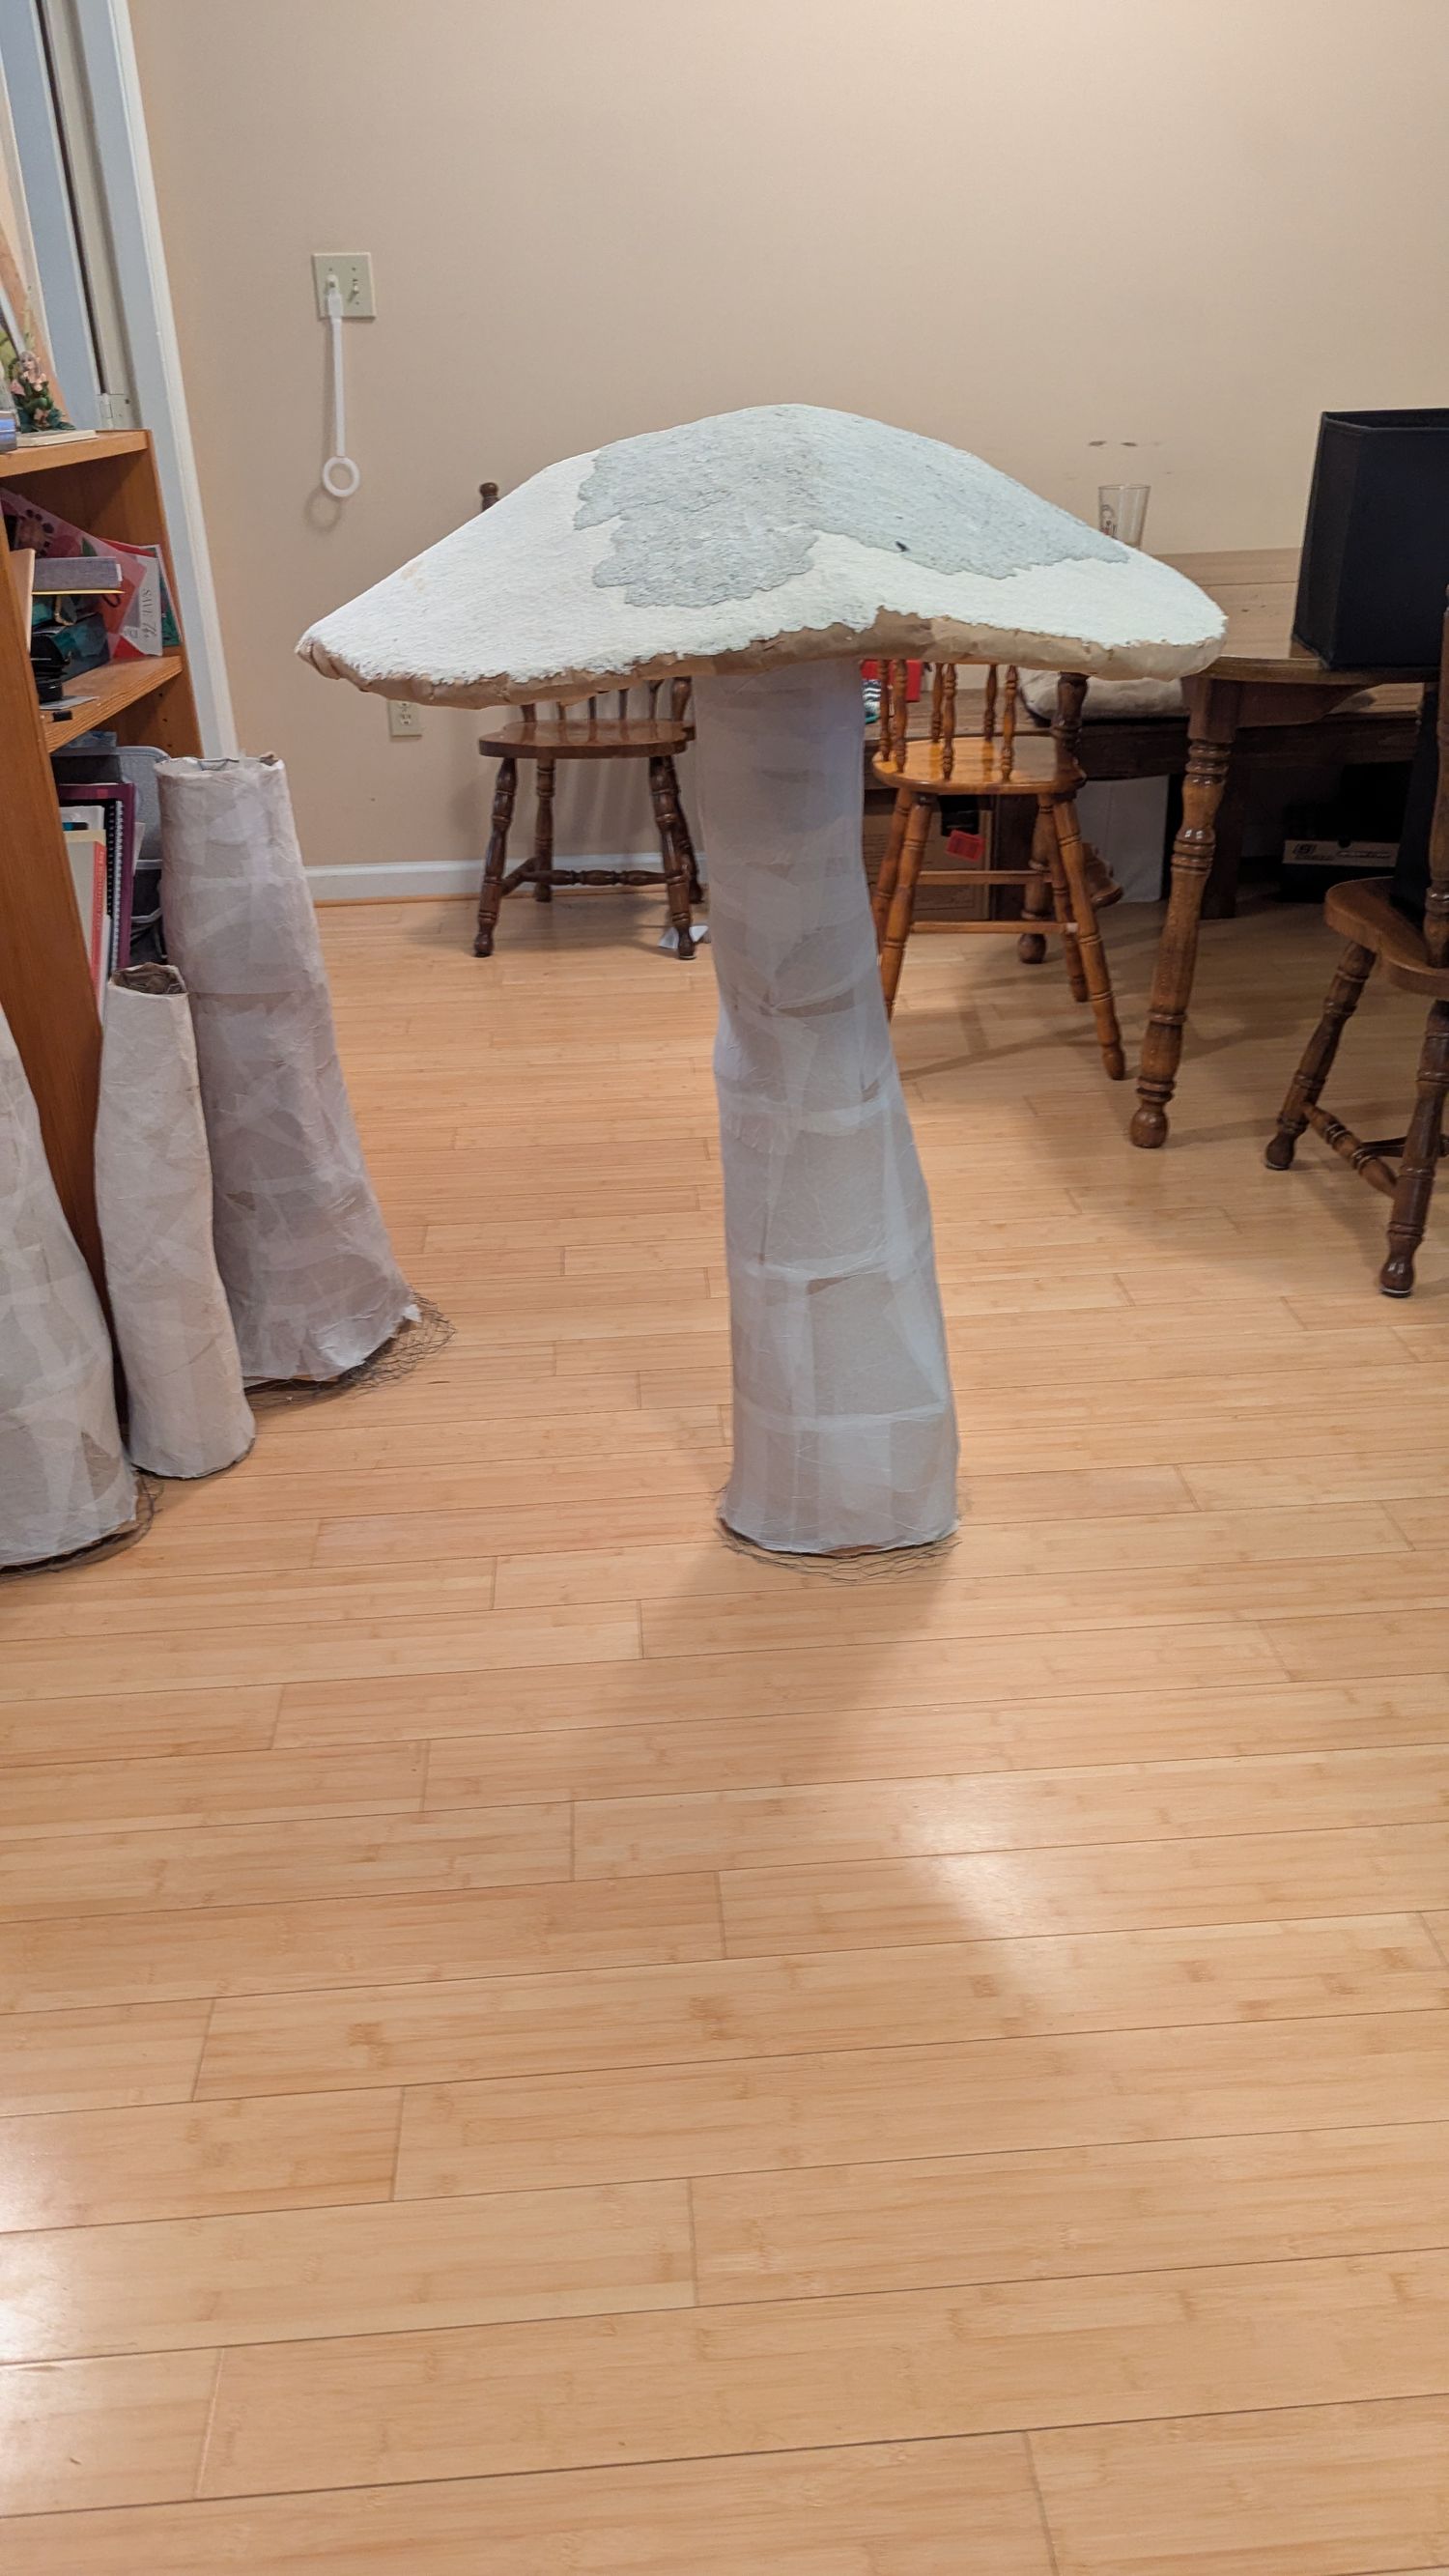
Now You Can Paint It!
Phew. It's over. I had wanted to make more of these but... do I have the discipline? Probably not. I used 3 different browns to paint and add depth to my shroomies. I did multiple layers of each color to help achieve a more realistic shading. If you are making giant mushrooms, play with the colors and try new things! If you learn something, feel free to come back and share!
Now you might be asking how these stand on their own. The little ones are usually fine on flat ground but a couple tent stakes work well. With the larger ones, I use a dowel in a block of cement that is as tall as the stem, as well as tent stakes. I find this works fine.